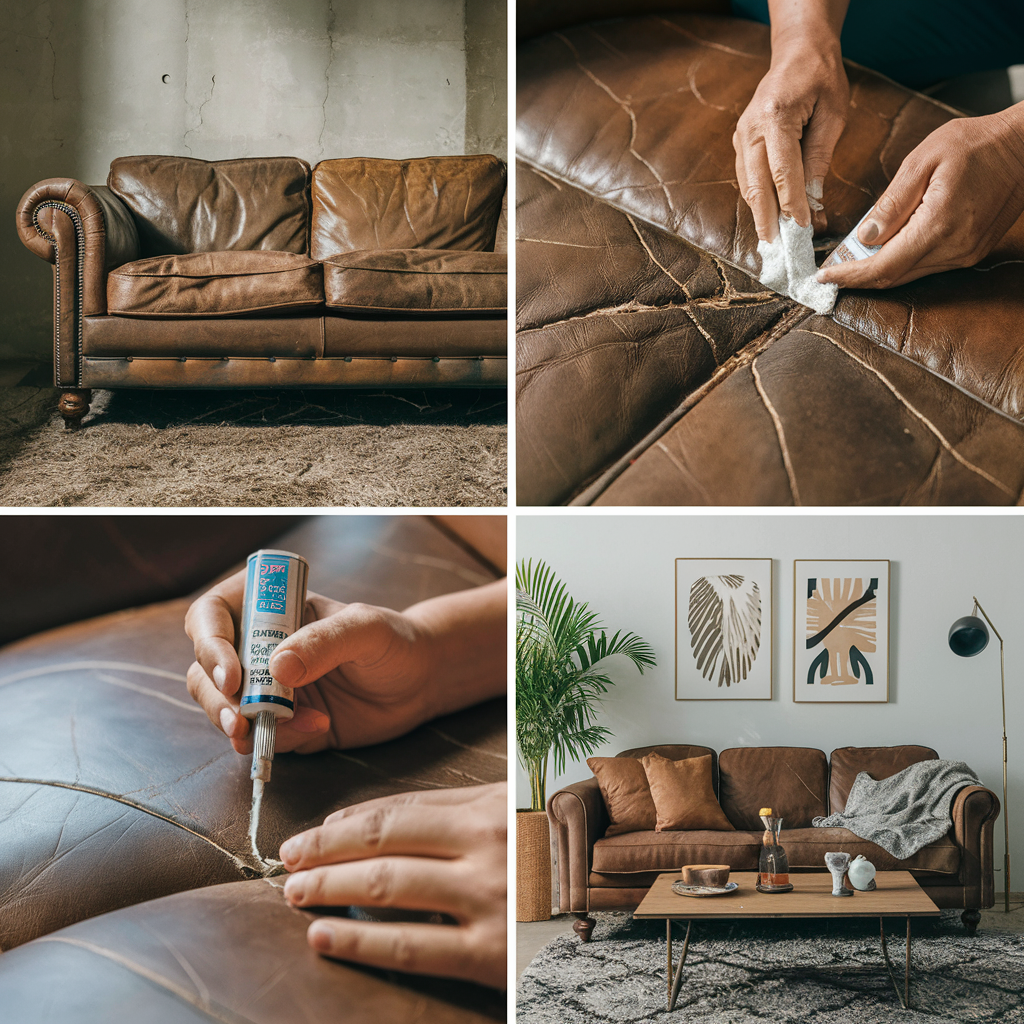
TL;DR:
- Damage Assessment: Identify if leather damage is a tear, scratch, or hole.
- Cleaning: Clean with mild soap; ensure it’s dry before repair.
- Repair Kit Selection: Choose a quality leather repair kit with filler, patches, and color.
- Filling and Patching: Use filler for small issues; apply patches for larger problems.
- Color and Texture: Match color with dye; apply leather conditioner afterward.
- Mistakes to Avoid: Don’t rush or skip cleaning/prepping.
- Maintenance: Clean spills quickly, condition every few months, and avoid sunlight.
- Scratch Repair: Use conditioners for minor scratches; touch-up kits for deeper ones.
- Peeling Leather: Repair using cleaning, filler, and color matching.
- Best Kits: Coconix and Fortivo kits rated highly; choose based on damage and color match.
How to Repair Leather Furniture at Home Effectively?
Do you have a beloved leather couch that has seen better days? As conscious consumers who care about sustainable living and traditional values, it’s time we tackle those tears and scratches ourselves.
In this guide, we’ll show you how to repair leather furniture effectively at home. You’ll save money, bypass the woke brands, and ensure your beloved pieces last for years. Let’s get started!
How to Repair Leather Furniture at Home?

Assessing the Type and Extent of the Damage
Examine the damage closely. Is it a tear, scratch, or hole? Small tears may only need a patch, while large holes often require more extensive repair. Look for cracks or worn-out areas to determine the best repair method.
Cleaning and Prepping the Leather Surface
Clean the leather thoroughly with a damp cloth and mild soap. Allow it to dry completely. Remove dirt and grease, as clean leather bonds better with repair products.
Choosing the Right Leather Repair Kit
It is crucial to select a quality leather repair kit. Ensure the kit includes filler, patches, and color. Read reviews to select the best kit for your needs.
Applying Leather Filler and Patches
Use filler to fill tears and scratches, spreading it evenly with a spatula. For larger tears or holes, apply a leather patch that matches the type of leather. Press the patch firmly and allow it to dry.
Touching Up Color and Texture
Apply color dye from your kit to match the leather. Use a sponge or brush, applying light, multiple coats. Let each coat dry before applying the next. Finish with a leather conditioner to blend the texture.
Avoiding Common Leather Repair Mistakes
Don’t rush the process. Ensure each layer dries before adding another. Don’t skip prepping the leather or use the wrong repair kit. Verify the patch matches the leather type to avoid visible or weak repairs.
Maintaining Leather Furniture Post-Repair
Regular care preserves your leather’s appearance. Follow these leather furniture maintenance tips. Clean spills immediately, condition leather every few months, and keep furniture out of direct sunlight to prevent cracking and fading.
What are the Best Methods to Fix Leather Scratches?

Identifying Types of Leather Scratches
Check the scratch depth. Light surface scratches affect only the top layer, while deeper scratches cut through more layers and require special care.
Using Leather Conditioners and Oils for Minor Scratches
For small, surface scratches, use conditioners to restore moisture and color. Apply the conditioner with a soft cloth using circular motions.
Leather Touch-Up Kits for Deeper Scratches
Deeper scratches require touch-up kits. Clean the area, use filler to even the scratch, then apply color to match the rest of the leather.
Professional vs. DIY Scratch Repair Methods
DIY methods are cost-effective for minor damage, while professionals offer more thorough repairs for deep cuts.
Preventative Measures to Avoid Future Scratches
Protect your leather from new scratches by avoiding sharp objects near furniture. Clean and condition regularly to maintain softness and strength.
How to Repair Tears and Holes in Leather?
Approaches to Mending Minor and Major Tears
Clean the leather tear thoroughly. For minor tears, use leather adhesive between torn edges. For major tears, consider using a patch cut from matching leather.
Selecting the Best Leather Repair Kit for Tears
Choose a repair kit that suits your needs, typically including adhesives, patches, and colorants. Compare kits and read reviews on fixing leather couch tears and large leather tear fixes.
Step-by-Step Guide for Patching Small and Large Holes
- Clean the leather surface.
- Cut a patch slightly larger than the hole.
- Insert the patch under the hole.
- Apply glue to the hole’s edges.
- Press the edges onto the patch and allow it to dry.
For large holes, use a leather filler before patching.
Seam Repair Techniques
For torn seams, use a needle and thread matching the leather color. Sew from the inside for hidden stitching, ensuring tight and even stitches for strength.
Ensuring a Seamless Finish with Color Matching
After repair, use colorant from your kit to blend the repaired area seamlessly with the surrounding leather.
Can Peeling Leather Be Repaired?

Yes, peeling leather can be repaired with the right approach. Identify the cause of peeling first, as it affects the repair method.
For real leather:
- Clean the area with a damp cloth.
- Use leather prep to remove peeling layers.
- Apply leather filler to gaps.
- Use color dye to match the surrounding leather.
For faux leather:
- Clean and lightly sand the peeling area.
- Use strong adhesive designed for faux leather.
- Patch larger areas with faux leather patches.
- Blend with color dye.
For long-term care, keep leather away from direct sunlight and use leather conditioner regularly.
What Are the Best Kits and Products for Leather Repair?
Overview of Top-Rated Leather Repair Kits
Top-rated kits include the Coconix Leather Repair Kit and Fortivo Leather and Vinyl Repair Kit, which are known for their easy instructions and great results.
Key Features to Look for in a Repair Kit
A good leather repair kit should include various colors, filler compounds, texture patches, and an easy-to-follow guide.
Comparing DIY vs. Professional Kits
DIY kits like Coconix are cost-effective for minor damage, while professional kits suit extensive repairs but require more skill.
Reviews of the Best Available Products
Coconix and Fortivo kits receive high ratings for ease of use and quality results, with users praising their color versatility and durability.
Tips for Selecting the Right Kit for Your Needs
Match the kit’s color with your leather, check ingredients for safety, and consider the damage size when selecting a kit.
Affordability and Durability of Repair Kits
Coconix and Fortivo kits offer budget-friendly, durable solutions with enough material for multiple repairs, making them a wise investment for leather furniture owners.
Conclusion
Repairing leather furniture at home can be easy if you follow the steps we’ve outlined. Start by assessing the damage and prepping the surface. Choose the right repair kit, apply filler or patches, and touch up the color. Avoid common mistakes and maintain your furniture post-repair.
When fixing scratches or tears, identify the type, use conditioners, or opt for kits. For peeling, pinpoint the cause and use the right tools. With the best repair kits, you can make your leather look new. Remember, informed choices lead to lasting results.


