TL;DR:
Preparation for Kitchen Cabinet Redo:
- Tools: Screwdriver, degreaser, 120-grit sandpaper, tack cloth, painter’s tape, labeling stickers, drop cloths, cleaning rags.
- Steps: Remove hardware, clean with degreaser, sand, wipe with tack cloth.
Choosing Finish:
- Recommended: Semi-gloss, satin, high-gloss. Use at least two coats with 24-hour drying time.
Common Mistakes:
- Skipping cleaning/sanding, inadequate drying time, using low-quality paint, ignoring primer importance.
Alternatives to Painting:
- Change hardware, add trim, use contact paper, install glass inserts.
Wondering how do you redo kitchen cabinets without breaking the bank? Giving your kitchen a fresh look doesn’t have to be expensive or complicated. With some elbow grease and the right techniques, you can transform your cabinets and breathe new life into your kitchen. This guide will walk you through the process, from preparation to finishing touches, helping you achieve amazing results on a budget.
How to Prepare Your Kitchen Cabinets for Redo
Preparation is key to a successful kitchen cabinet redo. Proper prep ensures the paint or stain adheres well and lasts longer, saving you time and money in the long run.
Required Tools and Materials
- Screwdriver
- Degreaser
- 120-grit sandpaper
- Tack cloth
- Painter’s tape
- Labeling stickers
- Drop cloths
- Cleaning rags
First, remove all cabinet doors, drawers, and hardware. Use a screwdriver for this task. Label each piece with stickers to ensure you can reassemble them correctly later. This helps prevent any mix-ups that could complicate the process.
Next, clean all surfaces thoroughly using a degreaser. This removes grease and grime that can affect paint adhesion. After cleaning, sand the cabinets using 120-grit sandpaper. Sanding creates a smooth surface for painting. Finally, wipe the dust off with a tack cloth to ensure a clean, dust-free surface.
Choosing the Right Paint or Stain for Your Cabinets

Selecting high-quality paint or stain is crucial. Quality materials ensure a durable and attractive finish, saving you from frequent touch-ups and rework.
Recommended Finishes
- Semi-gloss
- Satin
- High-gloss
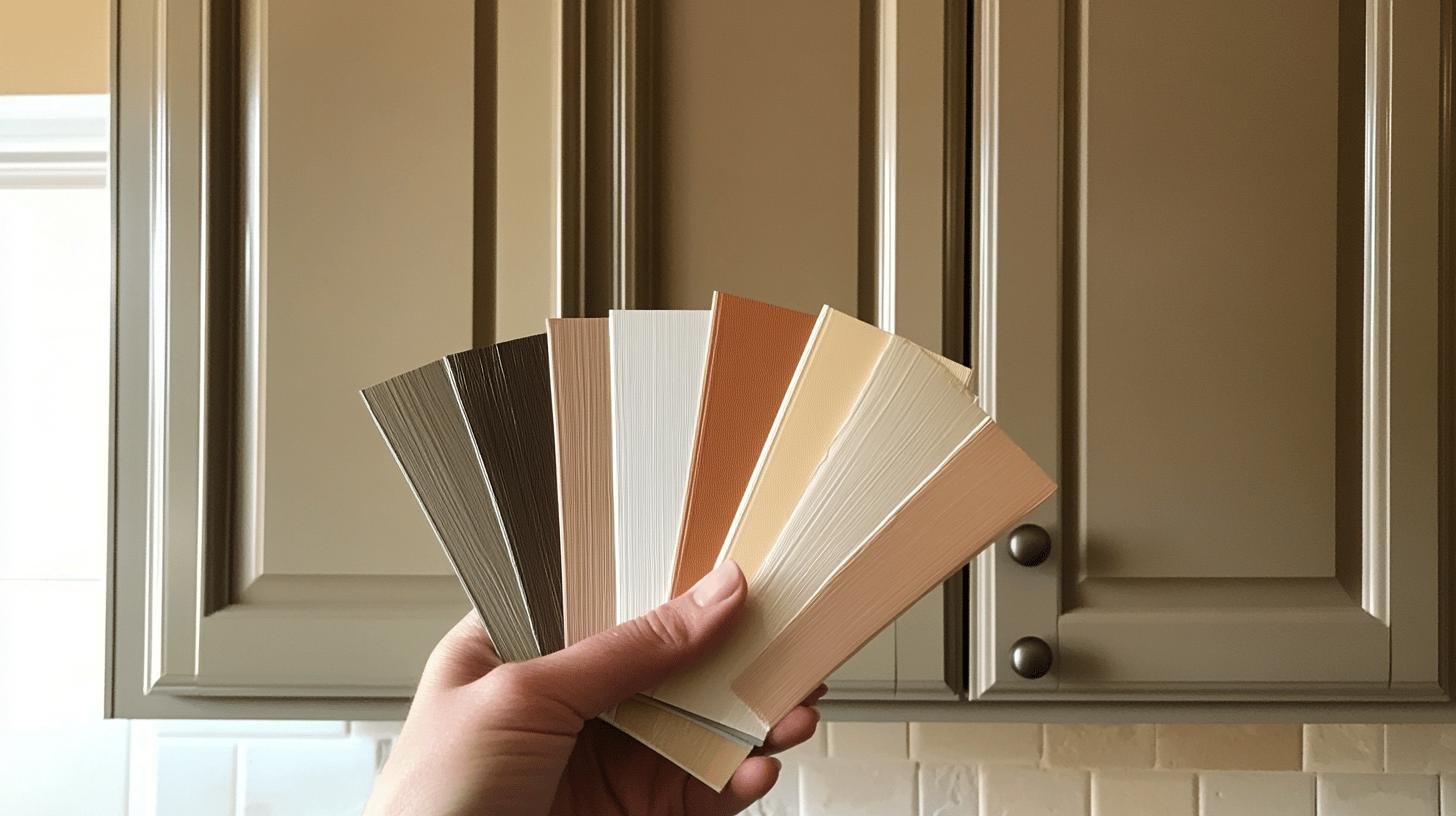
Semi-gloss and satin finishes are recommended for kitchen cabinets due to their durability and ease of cleaning. Semi-gloss offers a slight sheen that is both attractive and functional, making it easier to wipe away splatters and spills. Satin provides a softer look while still being easy to clean, making it ideal for a more subdued aesthetic. High-gloss finishes, though less common for kitchens, offer a sleek, modern look and are also easy to clean. However, they can highlight imperfections if the surface isn’t perfectly smooth.
When applying your chosen finish, use at least two coats for the best results. Each coat should dry for a full 24 hours to ensure proper adhesion and durability. This drying time helps prevent smudging and ensures a smooth, professional look.
Step-by-Step Guide to Painting Your Kitchen Cabinets
Redoing your kitchen cabinets with paint can refresh your space without breaking the bank. Each step in the painting process is crucial for achieving a professional look and ensuring long-lasting results.
Painting Steps
- Clean the surfaces
- Sand the cabinets
- Apply primer
- Paint the first coat
- Sand lightly between coats
- Paint the second coat
First, clean the surfaces thoroughly with a degreaser. This removes any grease, dirt, or grime that could prevent the paint from adhering properly. Cleaning is essential for a smooth finish and helps avoid peeling or chipping in the future.
Next, sand the cabinets using 120-grit sandpaper. Sanding creates a rough surface that helps the primer and paint stick better. Sand all surfaces evenly to avoid noticeable scratches or uneven spots. Wipe away the dust with a tack cloth once sanding is complete.
After sanding, apply a primer. Priming is crucial as it helps the paint adhere better and provides a uniform base color, especially if you’re painting over dark or stained wood. Use a paintbrush for corners and a foam roller for larger surfaces. Allow the primer to dry completely, usually about an hour, before moving on.
Then, paint the first coat using high-quality paint. Start with a paintbrush for edges and corners, then use a foam roller for flat surfaces for a smooth finish. Let the first coat dry for 30 minutes to an hour.
Sand lightly between coats to eliminate any bumps or imperfections that may have formed. Use fine-grit sandpaper for this step, and wipe the surface clean with a tack cloth before applying the next coat.
Finally, paint the second coat. Apply it in the same manner as the first, using a paintbrush followed by a foam roller. This coat should provide full coverage and a professional finish. Allow the final coat to dry fully before reassembling your cabinets.
Common Mistakes to Avoid When Redoing Kitchen Cabinets

Avoiding mistakes during the cabinet redo process is crucial for achieving a professional and long-lasting finish. Mistakes can lead to poor adhesion, uneven surfaces, and the need for frequent touch-ups, which can be both time-consuming and costly.
Common Mistakes
- Skipping cleaning or sanding steps
- Not allowing enough drying time between coats
- Using low-quality paint or primer
- Overlooking the importance of primer
- Ignoring environmental conditions, such as temperature and humidity
Skipping cleaning or sanding steps can result in paint not sticking properly to the cabinet surfaces. Grease, grime, and old finishes can create a barrier that prevents new paint from adhering, leading to peeling and chipping. Always clean thoroughly with a degreaser and sand all surfaces to create a smooth and receptive base for painting.
Not allowing enough drying time between coats is another common mistake. Rushing the drying process can result in smudges, uneven coverage, and a tacky finish. Be patient and allow each coat to dry completely, typically 24 hours for best results, to ensure a smooth and durable finish.
Using low-quality paint or primer can compromise the entire project. Low-quality materials often lack the durability and adhesion needed for a lasting finish. Invest in high-quality, semi-gloss or satin finishes that are easy to clean and maintain. Proper primer usage is also essential, as it ensures better paint adhesion and a uniform base color, especially when covering dark or stained wood.
Cost and Materials for Redoing Kitchen Cabinets
Budgeting is crucial when planning to redo kitchen cabinets. Knowing the costs upfront helps you allocate your resources effectively and avoid unnecessary expenses. A well-planned budget allows you to achieve a professional look without breaking the bank.
To save money, consider looking for sales or discounts on essential supplies. Buying in bulk can also reduce costs. For instance, purchasing paint in larger quantities often results in a lower price per gallon. Additionally, borrowing tools from friends or family can eliminate the need to buy expensive equipment.
When selecting materials, opt for high-quality yet affordable options. For example, a good semi-gloss or satin finish paint provides durability and ease of cleaning without a hefty price tag. TSP cleaner is effective for prepping surfaces and is also budget-friendly. Scotch-Brite pads are inexpensive and excellent for scrubbing without damaging the surfaces.
Updating Kitchen Cabinets Without Painting

Not everyone wants to paint their kitchen cabinets. Painting can be messy, time-consuming, and sometimes more costly than other methods. Fortunately, there are budget-friendly alternatives that can still provide a significant update to your kitchen’s look.
Alternative Methods
- Change hardware for a fresh look
- Add trim or crown molding for added height
- Use contact paper or wallpaper for a budget-friendly update
- Install glass or mesh inserts in cabinet doors
Changing the hardware is one of the easiest and most cost-effective ways to update kitchen cabinets. New handles, knobs, and hinges can give your cabinets a fresh, modern appearance. Choose hardware that complements your kitchen’s existing décor for a cohesive look.
Adding trim or crown molding can give your cabinets a more custom, high-end appearance. Trim adds detail and dimension, while crown molding can make your cabinets look taller and more elegant. These additions are relatively inexpensive and can be installed with basic carpentry skills.
Using contact paper or wallpaper is another budget-friendly option. These materials come in various patterns and textures, allowing you to personalize your cabinets without a permanent commitment. They are easy to apply and remove, making them ideal for renters or anyone looking for a temporary update.
Installing glass or mesh inserts in cabinet doors can also transform their look. This method adds visual interest and can make a small kitchen feel more open. Choose frosted or patterned glass for added privacy and style.
Before-and-After Success Stories of Cabinet Redos
Seeing before-and-after transformations can be incredibly motivating when planning to redo your kitchen cabinets. Visual examples of successful makeovers demonstrate the impact simple changes can have, inspiring you to start your own project. These success stories often show that you don’t need a massive budget to achieve professional-looking results.
Notable Success Stories
- Two-tone paint jobs
- New hardware installations
- Added height with trim
Two-tone paint jobs can dramatically change the look of your kitchen cabinets. In one example, a homeowner spent $200 on high-quality paint, cutting their initial budget of $400 in half by doing the work themselves. The transformation involved painting the upper cabinets a light color and the lower cabinets a darker shade, creating a modern, stylish contrast.
New hardware installations offer another affordable way to update cabinets. One project began with a budget of $150 for new handles and knobs. By shopping sales and opting for budget-friendly but stylish options, the total cost was reduced to $75. This simple change gave the cabinets a fresh, new look without the need for paint or extensive labor.
Adding height with trim is another effective method to transform cabinets. One DIY enthusiast managed to add crown molding to their cabinets, initially budgeting $200 for materials and tools. By purchasing trim from a discount store and borrowing tools, the final cost was brought down to $100. The added trim gave the cabinets a custom, high-end appearance.
Final Words
Redoing your kitchen cabinets is a rewarding project that can dramatically improve your kitchen’s appearance. Whether you choose to paint, replace hardware, or add trim, the key is proper preparation and using quality materials. By following these steps on how do you redo kitchen cabinets, you can achieve a professional-looking finish without the high cost of replacement. With patience and attention to detail, your refreshed cabinets will be the highlight of your kitchen for years to come.
FAQ
How do you redo kitchen cabinets on a tight budget?
To redo kitchen cabinets affordably, clean and sand the surfaces, then paint them with quality paint. You can also update the look by changing hardware or adding trim.
What tools do I need to redo my kitchen cabinets?
Essential tools include a screwdriver, sandpaper, paintbrushes, and cleaning supplies. You may also need a drill for new hardware installation.
Can I redo my kitchen cabinets without removing them?
Yes, you can update cabinets without removal by cleaning, sanding, and painting them in place. However, removing doors and hardware makes the job easier.
How long does it take to redo kitchen cabinets?
The process typically takes 3-7 days, depending on the size of your kitchen and the complexity of the project.
What’s the best paint to use when redoing kitchen cabinets?
Semi-gloss or satin finish paints are ideal for kitchen cabinets as they’re durable and easy to clean.


