TL;DR:
- Benefits of Painting Cabinet Interiors: Fresh look, increased home value, personal satisfaction, cohesive appearance.
- Essential Tools: Primer, interior paint, 220-grit sandpaper, painter’s tape, drop cloths, paintbrushes, foam rollers, degreaser.
- Painting Steps: Remove doors/drawers, clean, sand, tape, apply primer (24 hours to dry), paint (2 coats, 4-6 hours each), touch up, reassemble.
- Paint Choice: Use enamel paint for durability; finishes should be semi-gloss or satin for ease of cleaning.
- Common Issues: Fix peeling by sanding and reapplying paint; use thin coats for even coverage; minimize brush marks with quality tools.
- Final Touches: Inspect for imperfections, touch up, consider a clear protective topcoat.
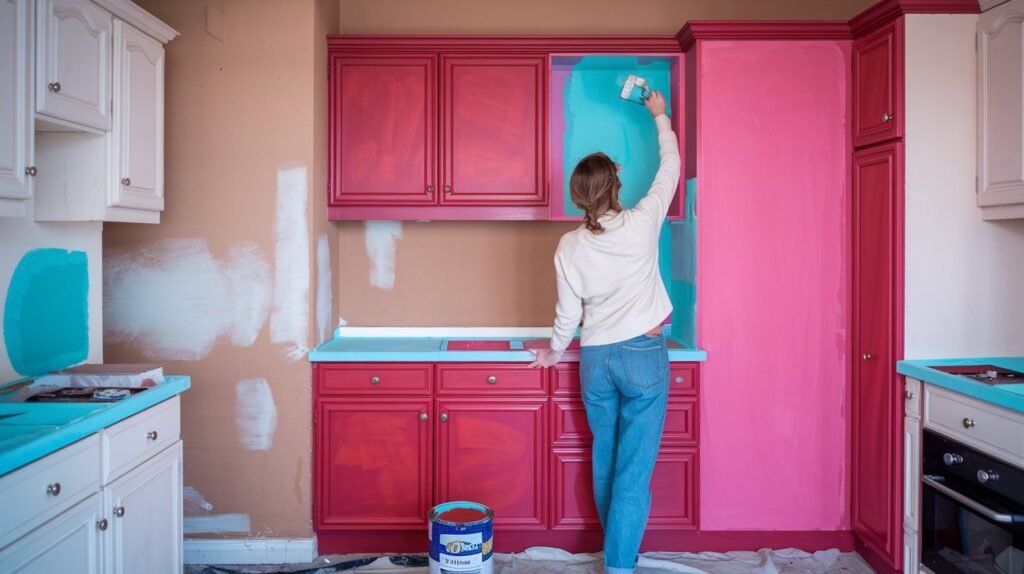
Painting kitchen cabinets inside can breathe new life into your kitchen without breaking the bank. This simple DIY project can transform the look of your cabinets and give your kitchen a fresh, updated appearance. With the right tools and techniques, you can achieve professional-looking results and enjoy a whole new kitchen vibe.
Why Paint the Inside of Kitchen Cabinets?
Painting the inside of kitchen cabinets can give your kitchen a fresh look and even boost your home’s value. It can make your kitchen feel cleaner and more welcoming. If a new interior cabinet color makes you happy, this project is worth considering.
Some avoid painting cabinet interiors due to the extra effort and time required. The inside involves more angles and corners, making it more challenging. It also requires you to remove all contents, which can be time-consuming. Despite the effort, the end result often justifies the work involved, especially if you’re aiming for a cohesive and polished kitchen appearance.
The process of painting the interior is similar to painting the exterior of cabinets. You’ll need to clean, sand, prime, and paint. Using quality materials and following each step carefully ensures a professional finish. If you’re comfortable painting the exterior, you can handle the interior too.
| Reason | Benefit |
|---|---|
| Fresh Look | Makes kitchen feel cleaner and more inviting |
| Increase Home Value | Potentially raises the value of your home |
| Personal Satisfaction | Seeing a color you love inside your cabinets |
| Cohesive Appearance | Creates a unified look in your kitchen |
Essential Tools and Materials for Painting Inside Kitchen Cabinets

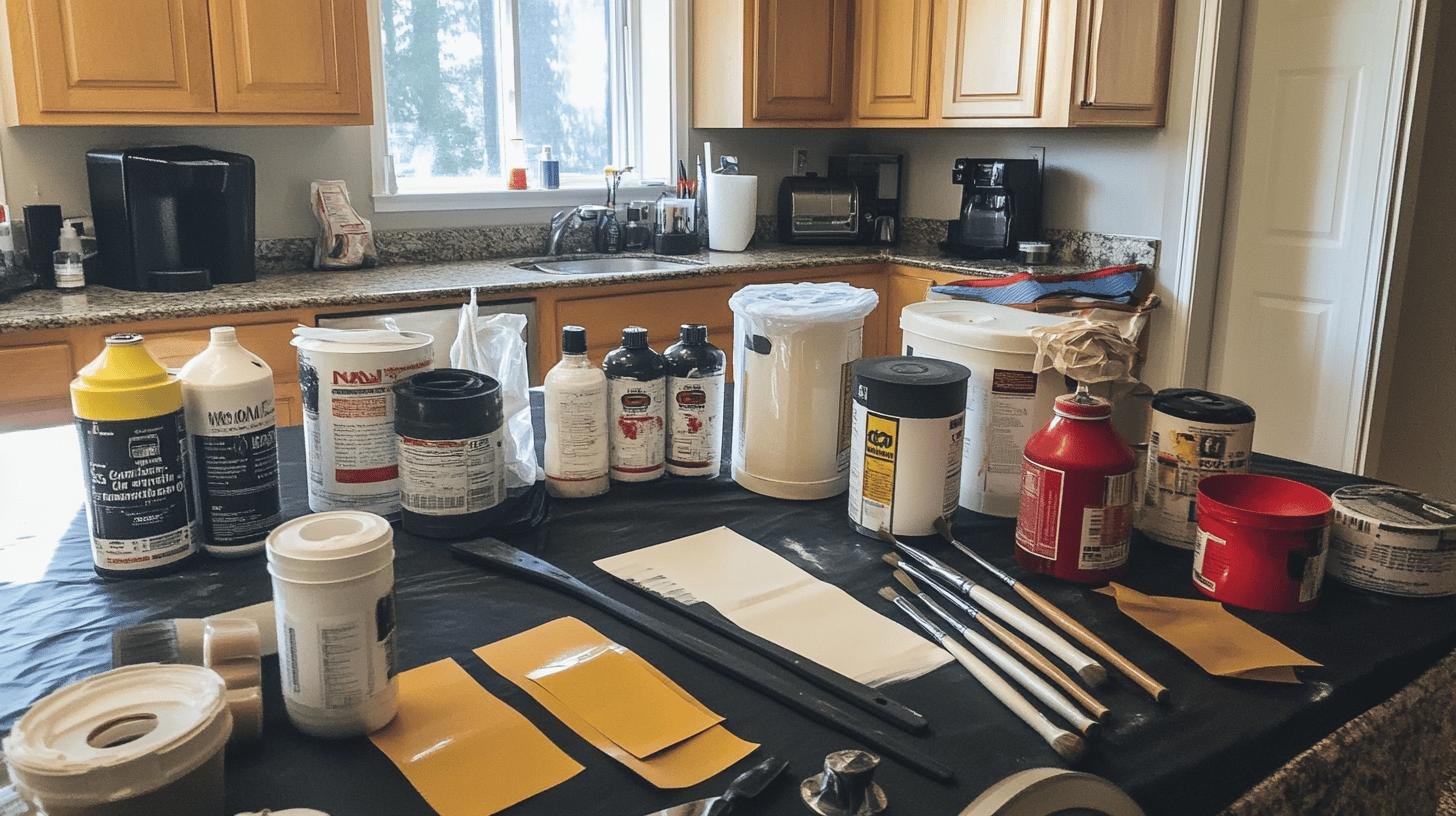
Using high-quality tools and materials is crucial for achieving a professional finish. The right primer, paint, and brushes can make a significant difference. Quality materials ensure better coverage, durability, and a smoother finish. Investing in the best tools not only enhances the look but also makes the painting process more efficient.
Organizing your materials before starting the project can save time and reduce frustration. When everything is in place, you won’t have to stop midway to search for missing items. This preparation helps keep the workflow smooth and allows you to focus on the task at hand. Laying out your tools and materials in an accessible manner can make the entire process more enjoyable and less chaotic.
- Primer
- Interior paint
- 220-grit sandpaper
- Painter’s tape
- Drop cloths
- Paintbrushes
- Foam rollers
- Degreaser
Step-by-Step Guide: How to Paint the Inside of Kitchen Cabinets
Preparation is key when painting the inside of kitchen cabinets. Start by removing all cabinet doors, drawers, and hardware. Clean the inside surfaces thoroughly with a degreaser to remove any grease or grime. This ensures the primer and paint adhere well.
Next, sand the surfaces lightly with 220-grit sandpaper to create a smooth base for painting. Apply painter’s tape to any areas you don’t want to paint, such as hinges or adjacent walls. Proper preparation sets the stage for a professional finish.
The painting process involves multiple steps to achieve a smooth, durable finish. Begin by applying a coat of primer to the inside surfaces of the cabinets. Allow the primer to dry according to the manufacturer’s instructions, typically around 24 hours.
Next, apply the first coat of paint using a foam roller for larger areas and a paintbrush for corners and edges. Let the first coat dry completely, usually 4-6 hours. Apply a second coat for full coverage and let it dry for another 4-6 hours. Multiple thin coats are better than one thick coat to avoid drips and uneven coverage.
Once the paint is fully dry, usually after 24 hours, reattach the cabinet doors, drawers, and hardware. Inspect the painted surfaces for any imperfections and touch up as needed. Reassembly is the final step, giving your kitchen a fresh, updated look. Proper reassembly ensures that everything functions correctly and looks cohesive.
- Remove all cabinet doors, drawers, and hardware.
- Clean the inside surfaces thoroughly with a degreaser.
- Sand the surfaces lightly with 220-grit sandpaper.
- Apply painter’s tape to any areas you don’t want to paint.
- Apply a coat of primer to the inside surfaces of the cabinets.
- Allow the primer to dry according to the manufacturer’s instructions (typically 24 hours).
- Apply the first coat of paint using a foam roller and paintbrush.
- Let it dry completely (4-6 hours) and apply a second coat of paint.
Choosing the Right Paint and Finish for Inside Kitchen Cabinets

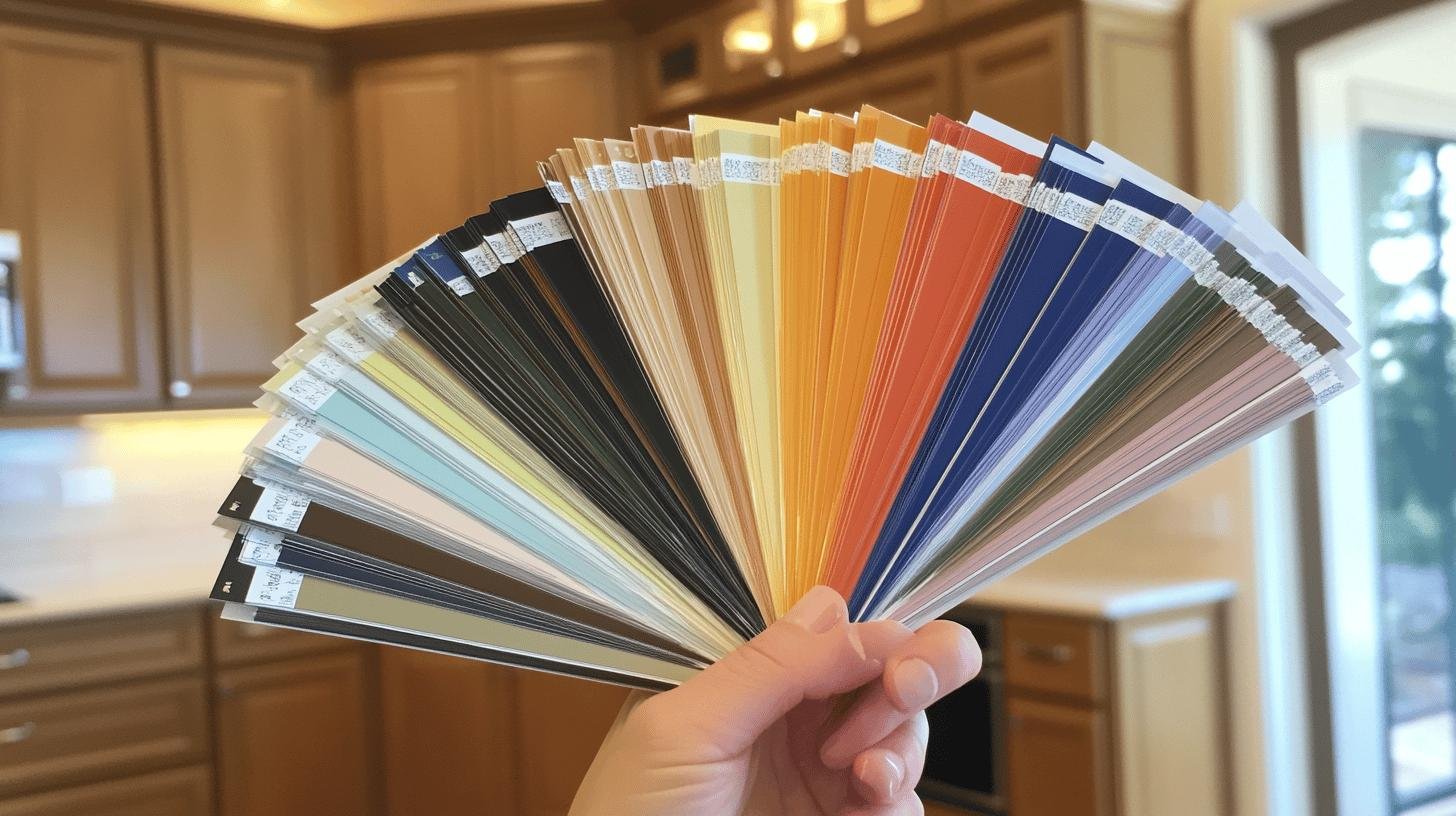
Choosing the right paint color is crucial for achieving a cohesive look in your kitchen. The color should complement your existing decor and create a welcoming atmosphere. A well-chosen color can make the kitchen feel more spacious and inviting. Consider the overall color scheme of your kitchen and select a shade that ties everything together.
Enamel paint is recommended for its durability and smooth finish. It provides a hard, washable surface that withstands daily use. Enamel paint is less likely to chip and offers a professional look that can last for years. For kitchen cabinets, enamel is an excellent choice because it resists moisture and stains, maintaining its appearance over time.
The best finishes for kitchen cabinets include semi-gloss and satin, which are easy to clean and resist moisture. Semi-gloss provides a shiny, reflective surface that highlights the cabinetry’s details. Satin offers a softer, less shiny appearance but still provides excellent durability. Both finishes are practical for kitchens as they can be wiped clean easily, making maintenance a breeze.
Troubleshooting Common Problems When Painting Inside Kitchen Cabinets
Painting the inside of kitchen cabinets can sometimes lead to issues like paint peeling, uneven coverage, and brush marks. These problems can be frustrating but are often preventable with the right approach. Peeling paint usually occurs when surfaces aren’t properly prepped. Uneven coverage often results from applying too thick a coat of paint. Brush marks can ruin the smooth finish you’re aiming for, making your cabinets look amateurish.
To fix these issues, start by sanding and reapplying primer and paint if you encounter peeling. This ensures a strong bond between the surface and the new paint layer. Uneven coverage can be addressed by applying multiple thin coats rather than one thick coat. This method provides better control and a smoother finish. Brush marks can be minimized by using high-quality brushes and foam rollers, which distribute the paint more evenly.
- Sand and reapply primer and paint to fix peeling.
- Apply multiple thin coats for even coverage.
- Use high-quality brushes and foam rollers to minimize brush marks.
- Ensure surfaces are clean and properly prepped before painting.
Finishing Touches: Achieving a Professional Look

Inspect the painted surfaces for any imperfections and touch up as needed. Look for any spots where the paint might have bubbled, cracked, or missed completely. Use a fine brush to fix these areas, ensuring a smooth, cohesive finish. This step is crucial because even small imperfections can detract from the overall look of your kitchen cabinets. Taking the time to address these issues will give your cabinets a clean, professional appearance.
Consider adding a clear protective topcoat for added durability, especially in high-use areas. This topcoat acts as a barrier against scratches, stains, and general wear and tear. It not only extends the life of your paint job but also makes cleaning easier. A topcoat can be particularly beneficial in kitchens where cabinets are frequently exposed to moisture and grease. Applying a clear coat will keep your cabinets looking fresh and new for longer.
- Inspect painted surfaces for imperfections and touch up as needed.
- Apply a clear protective topcoat for added durability.
- Use professional spray painting for a smooth, even finish.
Final Words
Updating your kitchen’s look doesn’t have to be expensive or time-consuming. By painting kitchen cabinets inside, you can achieve a fresh, new appearance without the cost of a full renovation. This DIY project, while requiring some effort, can be incredibly rewarding. With careful preparation and quality materials, you’ll create a beautiful new interior for your cabinets that will enhance your kitchen’s appeal for years to come.
FAQ
What are the benefits of painting kitchen cabinets inside?
Painting kitchen cabinets inside can make them look cleaner, brighter, and more modern. It also helps protect the wood and can make it easier to spot items inside your cabinets.
Do I need to remove the cabinets to paint them?
No, you don’t have to remove the cabinets. You can paint them while they’re still hanging, but you should remove the doors and hardware for best results.
What kind of paint should I use?
Use a durable, high-quality paint made for interior woodwork. Many people prefer semi-gloss or satin finishes for kitchen cabinets.
How long does it take for the paint to dry?
Most paints will feel dry to the touch within a few hours, but you should wait at least 24 hours before putting items back in the cabinets.
Should I use a brush or a roller to paint?
A combination of both works best. Use a brush for corners and edges, and a small foam roller for larger, flat surfaces to get a smooth finish.
