TL;DR:
- Can you paint cabinets without removing them? Definitely!
- Advantages include:
- Time-efficient
- Less labor-intensive
- Cost-effective
- Minimizes disruption
- Simpler preparation
- Preparation steps:
- Protect surfaces
- Tape off areas
- Sand cabinets (120 or 220 grit)
- Clean dust
- Fill cracks
- Sand filled areas
- Ensure ventilation
- Recommended paint types: Enamel (durable), Acrylic (easy to clean), Latex (quick-drying).
- Painting steps:
- Remove hardware
- Sand and clean
- Apply primer
- Paint coats
- Touch-ups
- Reinstall hardware
- Tips: Use quality tools, keep doors open while drying, address drips immediately.
Want to give your kitchen a new look? You might be asking, “Can you paint cabinets without removing them?” Good news – you can! This easy method lets you update your kitchen without taking everything apart. Painting cabinets while they’re still in place saves time and effort. It’s perfect for people who want to change their kitchen’s look quickly, often in just a weekend. This way of painting doesn’t mess up your daily routine much, costs less, and is easier for DIY fans. If you thought updating your kitchen would be too hard, think again! With some simple steps, you’ll be on your way to a brand-new kitchen vibe in no time.
Can You Paint Cabinets Without Removing Them?
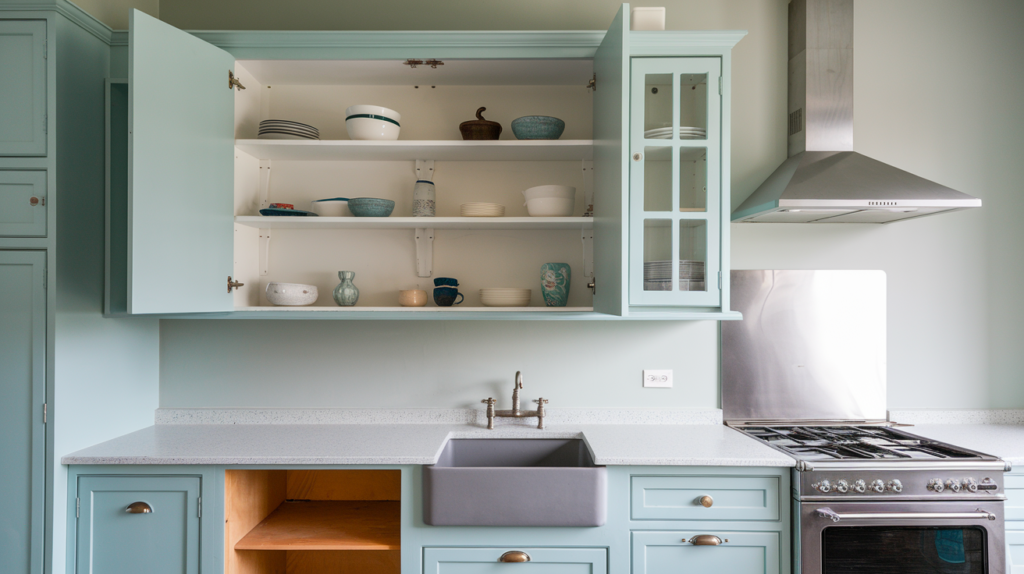
Yes, you can paint cabinets without removing them. This practical method allows you to refresh your kitchen cabinets in as little as a weekend, without the need for sanding or removing doors. By skipping the dismantling process, you save significant time and effort. Painting cabinets in place is a quick and efficient alternative to traditional methods, making it possible to transform your kitchen’s look with minimal disruption to your daily life.
Main advantages of painting cabinets without removing them:
- Time-efficient: No need to take doors off, reducing the project timeline.
- Less labor-intensive: Avoids the effort of dismantling and reassembling.
- Cost-effective: Saves money on extra tools or professional help.
- Minimizes disruption: Keeps your kitchen functional during the painting process.
- Simpler preparation: Requires fewer steps compared to traditional methods.
This approach is ideal for those looking to refresh their kitchen or bathroom cabinets quickly. By not removing the cabinet doors, you reduce labor and maintain a functional living space during the project. With proper preparation and techniques, painting cabinets in place can yield impressive results without the hassle. This method allows you to transform your space efficiently, minimizing disruption to your daily routine while still achieving a professional-looking finish. It’s a great option for DIY enthusiasts or anyone seeking a cost-effective way to update their cabinetry without the need for extensive remodeling.
Necessary Preparation for Painting Cabinets Without Removing Them

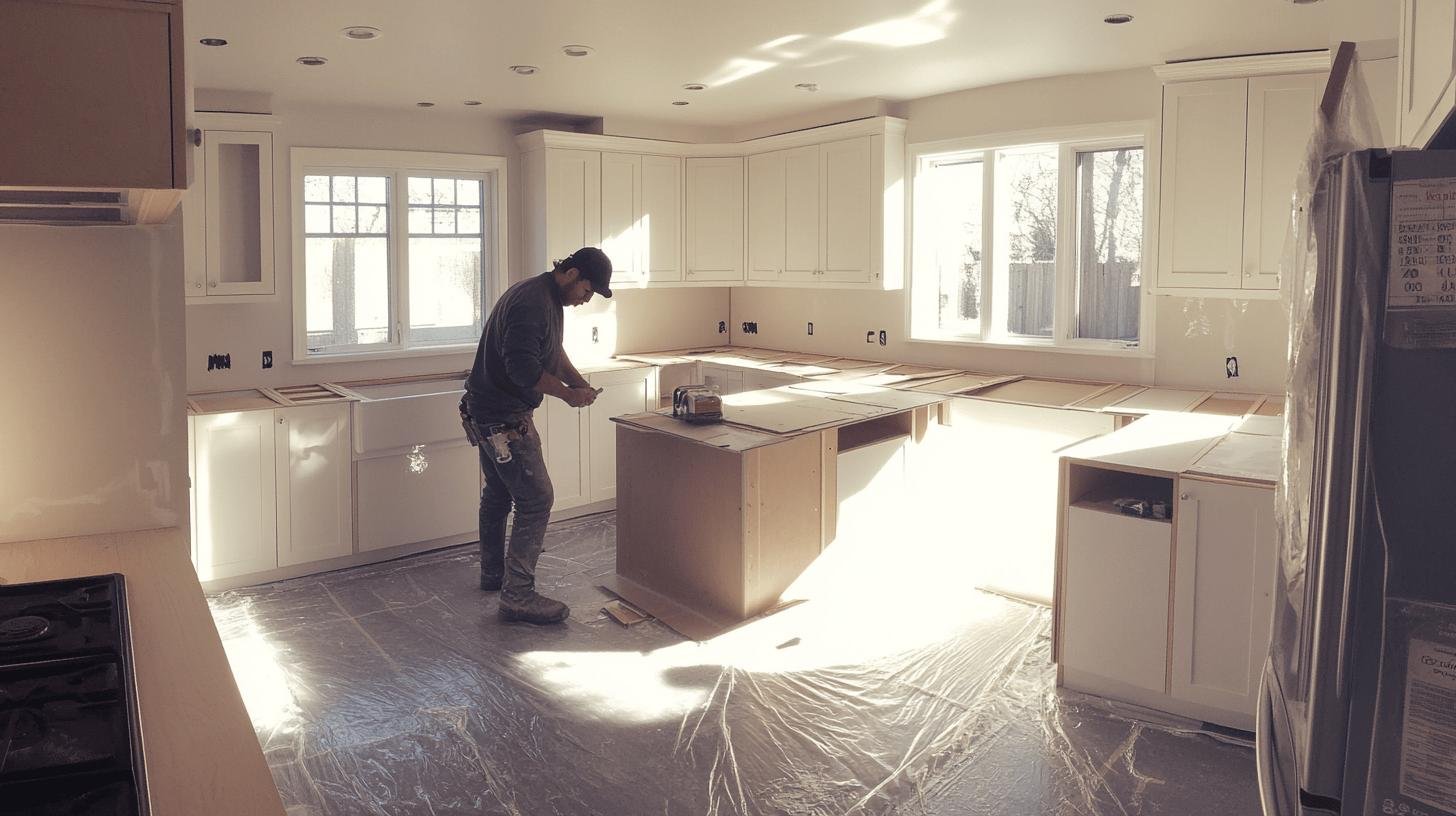
Preparing your workspace is crucial when painting cabinets without removing them. Start by protecting kitchen floors and countertops with drop cloths or plastic sheets. Tape off areas that need protection, such as walls and appliances, to avoid unwanted paint splatter. A clean and organized workspace helps prevent accidents and makes the painting process smoother.
Sanding and cleaning are key steps in the preparation process. Use 120-grit or 220-grit sandpaper to remove previous stains or paint from the cabinet doors. This creates a smooth surface for the new paint to adhere to. After sanding, clean off all dust using a vacuum or a damp cloth. A clean surface is essential for a professional-looking finish and ensures the paint adheres properly.
Before you start painting, fill in any cracks or damage on the cabinet doors. Use wood filler to patch up any imperfections and then sand the filled areas smooth. This step is vital for achieving a flawless finish and prolongs the life of your newly painted cabinets.
7 essential preparation steps for painting cabinets:
- Protect floors and countertops with drop cloths or plastic sheets.
- Tape off areas that should not be painted.
- Sand the cabinet doors with 120-grit or 220-grit sandpaper.
- Clean off all sanding dust with a vacuum or damp cloth.
- Fill in cracks and damage with wood filler.
- Sand the filled areas to ensure a smooth surface.
- Ensure the workspace is well-ventilated and well-lit.
Types of Paint and Tools Needed for Painting Cabinets
When painting cabinets without removing them, choosing the right paint and tools is key. Enamel, acrylic, and latex paints are great options for cabinets, each with unique benefits. You’ll need 180-220 grit sandpaper, quality brushes and rollers, and painter’s tape. While primer can help, some high-quality paints have it built-in. These choices ensure a durable, professional finish that can handle daily use in busy areas like kitchens. With the right materials, you can achieve great results without removing cabinet doors, making your project easier and faster.
| Paint Type | Description |
| Enamel | Durable, glossy finish, ideal for high-traffic areas. |
| Acrylic | Easy to clean, smooth finish, suitable for various surfaces. |
| Latex | Quick drying, low odor, and offers a durable coating. |
Step-by-Step Guide to Painting Cabinets Without Removing Them
Start by removing all knobs, handles, and drawer/door stoppers. This keeps hardware free from paint and ensures a cleaner finish. Cover areas not being painted with painter’s tape to protect them from splatters. This includes hinges if you’re not planning to paint them.
Sanding is crucial for a smooth and lasting finish. Use 120-grit or 220-grit sandpaper to sand the cabinet doors thoroughly. This removes old stains or paint, creating a better surface for the new paint. After sanding, wipe down the cabinets with a damp cloth or vacuum to remove all dust and debris. A clean surface is essential for achieving a professional look.

Once the cabinets are sanded and cleaned, apply a primer. Primer helps the paint stick better and provides a more uniform color, especially if you’re painting over dark wood. Use a high-quality brush or roller to apply a thin coat of primer and allow it to dry completely. After the primer dries, apply multiple coats of paint. Ensure each coat dries fully before applying the next to avoid streaks and uneven coverage.
Finally, pay attention to the final touches. After the paint has dried completely, reinstall all the hardware, knobs, and stoppers. Double-check for any areas that might need touch-ups and address them with a small brush. Clean up your workspace, remove painter’s tape, and enjoy your newly painted cabinets.
Tips and Troubleshooting for Painting Cabinets Without Removing Them
To prevent drying issues, keep the cabinet doors open and in a position where they won’t touch anything or get bumped. This allows air to circulate freely around the painted surfaces, ensuring an even drying process. If possible, use small wedges or spacers to keep the doors slightly ajar without closing completely, which helps avoid smudging and sticking.
Achieving a smooth finish requires using high-quality brushes and rollers. Cheap brushes can leave bristles behind, and low-quality rollers might result in an uneven texture. Opt for fine-bristle brushes and foam rollers to minimize brush strokes and ensure a consistent application. Always keep a wet edge while painting—this means overlapping each stroke slightly with the previous one before it dries. This technique helps blend the paint smoothly and prevents visible lines.
Common troubleshooting tips include addressing drips and runs immediately before they dry. If you notice a drip, smooth it out with a brush or roller right away. For areas with uneven coverage or streaks, lightly sand the surface with fine-grit sandpaper once dry, then apply an additional coat. Avoid painting in overly humid or cold conditions, as this can affect the paint’s drying and adhesion.
Final Words
Can you paint cabinets without removing them? Absolutely! This easy method is a great way to update your kitchen or bathroom quickly. By painting your cabinets in place, you save time and keep your space usable during the project. Remember to prepare well, choose the right paint, and use good tools. With some patience and care, you can give your cabinets a fresh, new look without the hassle of taking them down. Whether you’re a DIY fan or just want to save money, painting cabinets without removing them is a smart choice. So go ahead, pick your favorite color, and transform your space!
FAQ
Can you paint cabinets without removing them?
Yes, you can paint cabinets without removing them. This method saves time and is less messy.
What kind of paint works best for cabinets?
Enamel, acrylic, and latex paints work well. They’re tough and easy to clean.
Do I need to sand my cabinets before painting?
It’s a good idea to sand lightly. This helps the new paint stick better.
How long does it take to paint cabinets this way?
It usually takes a weekend, depending on how many cabinets you have.
Should I use a primer?
Primer can help, but some paints have it built-in. Check your paint can to see if you need it.
