TL;DR
- Painting a kitchen takes some preparation.
- Move appliances to the center, remove handles/knobs, and clean walls.
- Use TSP substitute and scrubbing pads for cabinet cleaning; ensure surfaces are dry before priming.
- Apply high-quality primer, then use latex enamel paint (satin/semi-gloss) for durability.
- Recommended paint: high-quality options from reputable manufacturers.
- Common colors: white, beige, gray; trending colors: sage green, navy blue, charcoal gray.
- Avoid not cleaning surfaces, skipping primer, using incorrect paint, and insufficient drying time.
- Essential DIY supplies: paint, foam roller handles, brushes, TSP substitute cleaner.
Ever wondered how a fresh coat of paint can completely change the look of your kitchen? Believe it or not, you don’t need a major renovation to breathe new life into your space. In this guide, you’ll learn how to paint your kitchen from prep to final touches. Whether you’re dealing with stubborn grease on cabinets or looking for the perfect primer, we’ve got you covered. Ready to transform your kitchen? Let’s dive into the nitty-gritty of painting your kitchen easily and effectively.
Preparing Your Kitchen for Painting
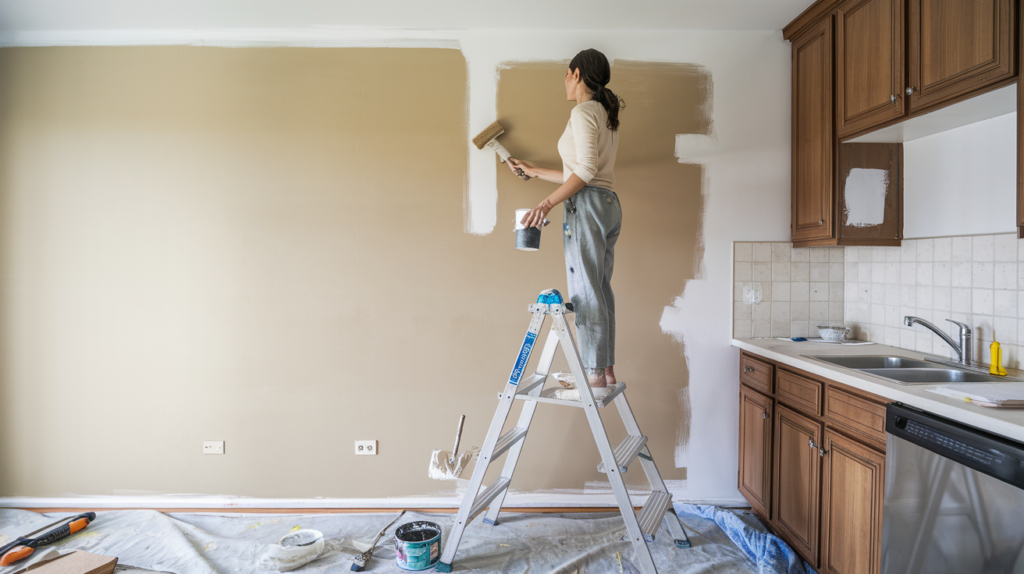
Preparation is key to a successful kitchen painting project. Move bulky appliances to the center of the room to keep them paint-free. Remove handles, knobs, switch covers, and store them in a Ziploc bag if you plan to reuse them. Clear cobwebs and wash the walls thoroughly to avoid dirt and grime interfering with the paint finish.
Clean the cabinets thoroughly with a TSP substitute and scrubbing pads, as this is crucial for paint adhesion. Dirty or greasy surfaces can prevent paint from sticking properly, leading to a poor finish. Make sure to wipe down the surfaces after cleaning to remove any residue, and ensure everything is completely dry before applying primer.

Use painter’s tape to tape off trim, windows, and any other areas you don’t want to paint. Properly taping these areas prevents accidental paint splatters and ensures clean, sharp lines. Once taped, apply a high-quality primer to the cabinets. Priming helps the paint adhere better and provides a smooth base for topcoats.
- Move bulky appliances to the center of the kitchen.
- Remove all handles, knobs, switch covers.
- Clear cobwebs and wash the walls.
- Clean cabinets with TSP substitute and scrubbing pads for better paint adhesion.
- Ensure surfaces are dry before applying primer.
- Use painter’s tape to tape off trim and windows.
Choosing the Best Paint for Kitchen Cabinets
Selecting the right paint for your kitchen cabinets is crucial for a durable and attractive finish. Latex enamel paint is the best option. It provides a smooth finish, is highly durable, and easy to clean. This type of paint does not require waxing or sealing, making touch-ups simpler and less time-consuming. When choosing paint, consider factors such as durability, finish, and color options to ensure you get the best results.
When it comes to paint finishes, you generally have two choices: satin or semi-gloss. Satin finishes offer a soft sheen that hides imperfections better and is easier to clean, making it ideal for kitchens. Semi-gloss finishes, on the other hand, provide a more reflective surface that is highly durable and resistant to moisture, making them another excellent choice for kitchen cabinets. Choosing the right finish depends on your preference for appearance and ease of maintenance.
Step-by-Step Guide to Painting Kitchen Cabinets
Starting with the initial steps, cleaning and sanding your kitchen cabinets is essential for a smooth painting process. Begin by thoroughly cleaning the cabinets to remove any grease, dirt, or grime. Use a TSP substitute and scrubbing pads for this task. After cleaning, sand the surfaces lightly to roughen them up, which helps the primer and paint adhere better. If you’re painting kitchen cabinets without sanding, make sure to use a deglosser to prepare the surface.
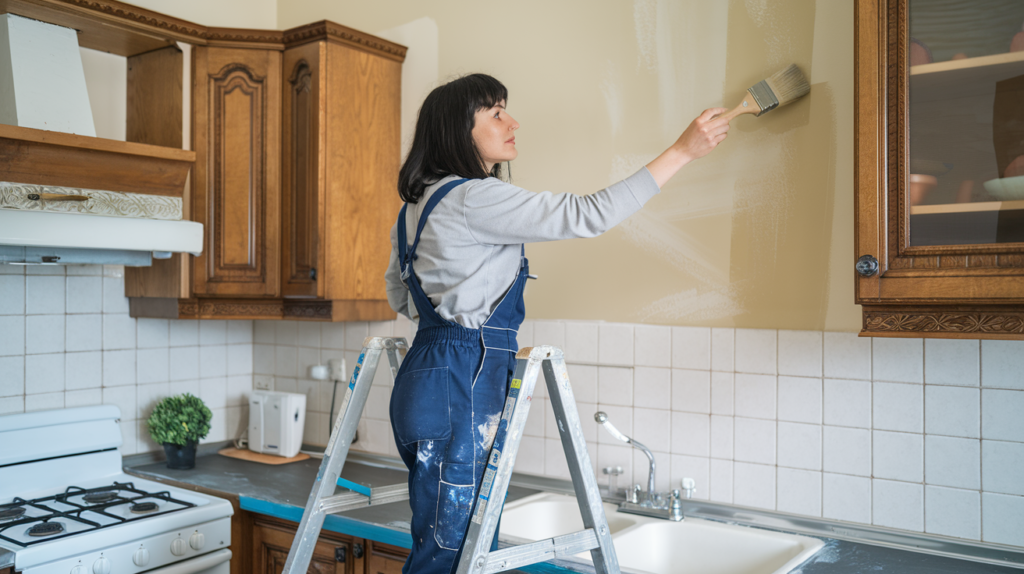
Once the cabinets are clean and sanded, the next step is applying primer. Use a brush to cut in around the edges and a roller for larger flat areas. Priming is crucial as it creates a base layer that helps the paint stick and provides a uniform surface. Allow the primer to dry completely before moving on to painting. Latex enamel paint is recommended for its durability and ease of cleaning. Apply the paint using a foam roller for a smooth finish, and use a brush for recessed areas to ensure full coverage. Apply two coats, allowing 30 minutes to an hour of drying time between each coat.
After the paint has dried thoroughly, it’s time to reattach the hardware and reinstall the cabinets. Ensure the paint is completely dry to avoid smudging or damaging the finish. Reattach handles, knobs, and any other hardware, ensuring they are securely fastened. Finally, reinstall the cabinet doors and drawers, and admire your newly transformed kitchen.
- Clean cabinets thoroughly with TSP substitute and scrubbing pads.
- Sand surfaces lightly or use a deglosser for better paint adherence.
- Apply primer using a brush for edges and a roller for larger areas.
- Allow primer to dry completely before painting.
- Paint with two coats of latex enamel paint, allowing drying times between coats.
- Use a foam roller for a smooth finish and a brush for recessed areas.
- Reattach hardware and reinstall cabinets after paint has dried.
This step-by-step guide ensures your kitchen cabinets get a professional-looking finish, transforming your space quickly and easily.
Best Paint Colors for Kitchen Cabinets
Neutral colors like white, beige, and gray are timeless and versatile choices for kitchen cabinets. These colors provide a clean and classic look that complements any kitchen style, from modern to traditional. Neutral shades are also easier to match with various countertop materials and backsplash designs, making them a practical option for many homeowners. Additionally, these colors are less likely to go out of style, ensuring your kitchen looks fresh and appealing for years to come.

Trending colors for 2023 include sage green, navy blue, and charcoal gray. Sage green offers a soothing and natural vibe, perfect for creating a calming kitchen environment. Navy blue adds a bold yet sophisticated touch, making it ideal for those looking to make a statement. Charcoal gray provides a sleek and modern appearance, adding depth and elegance to your kitchen cabinets. These trending colors can bring new life to your kitchen and keep it looking current.
When choosing paint colors for resale value, neutral colors are the best option. A kitchen with neutral-colored cabinets is more likely to appeal to a broader audience, making it easier to sell your home. Potential buyers can easily envision their own style in a kitchen with neutral cabinets, which can be a significant selling point. Opting for timeless shades like white, beige, or gray can make your kitchen more attractive to future buyers, ensuring a higher return on investment.
- White
- Beige
- Gray
- Sage Green
- Navy Blue
Common Mistakes to Avoid When Painting a Kitchen
Proper preparation is crucial when painting kitchen cabinets. One common mistake is not thoroughly cleaning and prepping the surfaces, which can lead to poor paint adhesion. Grease and grime buildup can prevent paint from sticking, resulting in a flawed finish. Another frequent error is skipping the primer step. Primer not only helps the paint adhere better but also ensures an even finish, which is essential for a professional look. Taking the time to clean and prime your surfaces properly can save you headaches down the line.
Drying times and paint selection are also important considerations. Not allowing enough drying time between coats is a mistake that can cause the paint to peel or bubble. Each coat should be given sufficient time to dry to ensure a durable finish. Using the wrong type of paint can lead to a less durable finish that won’t withstand the wear and tear of a kitchen environment. Opt for high-quality latex enamel paint, which is known for its durability and ease of cleaning.
- Not properly cleaning and prepping the surfaces can lead to poor paint adhesion.
- Skipping primer can result in an uneven finish.
- Using the wrong type of paint can lead to a less durable finish.
- Not allowing enough drying time between coats can cause the paint to peel.
Budget-Friendly DIY Kitchen Painting Tips
DIY kitchen cabinet painting can save a significant amount of money compared to hiring professionals. Many homeowners are surprised by the cost-effectiveness of taking on this project themselves. Not only does it reduce labor costs, but it also allows for more control over the process and final result. With the right supplies and a bit of effort, you can achieve a professional-looking finish without breaking the bank.
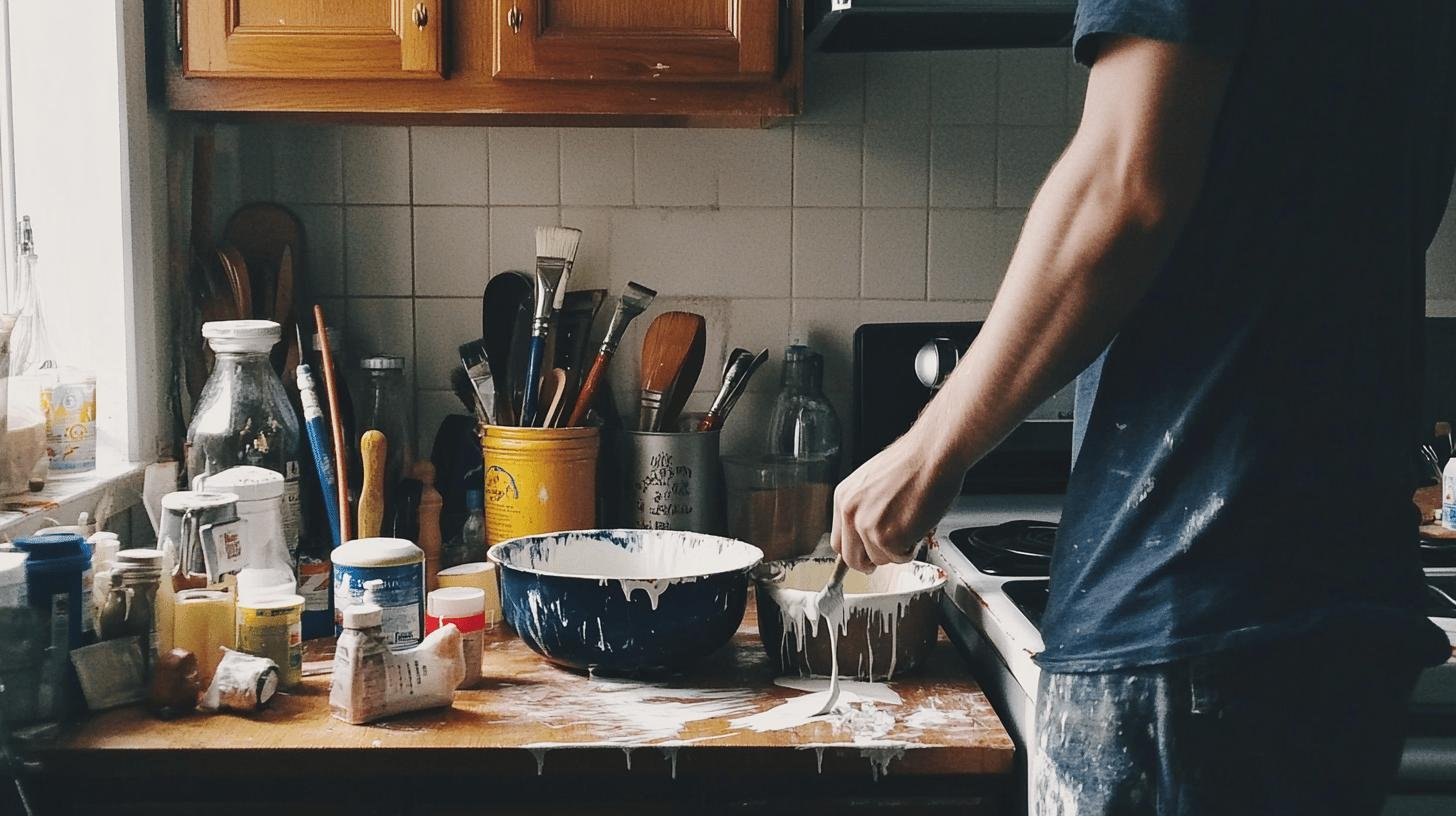
Essential supplies for a budget-friendly DIY kitchen painting project include paint, foam roller handles, foam rolling brushes, a versatile paintbrush, and TSP substitute cleaner. The paint is an all-in-one option that does not require sanding or priming before use, making the process simpler and faster. Applying two coats of this paint is recommended for a durable and long-lasting finish. Having these supplies on hand ensures that you are well-prepared to transform your kitchen cabinets efficiently and effectively.
- Paint
- Foam roller handles
- Foam rolling brushes
- Versatile paintbrush
- TSP substitute cleaner
Final Words
Painting a kitchen starts with good prep. Move appliances and clean all surfaces well before you begin. When choosing paint for your kitchen, look for ones that last long and have a good finish. There are many good brands made for kitchen painting.
Our step-by-step guide for painting a kitchen helps make sure you don’t miss anything important. The colors you pick can make your kitchen look great. They can also help if you want to sell your home later. Painting a kitchen takes time and care. But when you’re done, you’ll be happy with how it looks!

