TL;DR:
- Tools/Materials Needed:
- High-quality primer: Zinsser Cover Stain.
- Disposable brushes for oil-based primers.
- High-quality brushes for paint application.
- Foam rollers for smooth finish.
- Sandpaper: 120-grit and 220-grit.
- Wood filler for cracks.
- Degreaser for cleaning.
- Tack cloth for dust removal.
- Preparation Steps:
- Remove doors and hardware.
- Clean with degreaser.
- Sand with 120-grit.
- Fill holes with wood filler.
- Sand with 220-grit.
- Wipe with tack cloth.
- Painting Tips:
- Use multiple thin coats.
- Allow 4-6 hours drying time between coats; full curing takes up to 7 days.
Essential Tools and Materials for Painting Kitchen Cabinets
High-quality tools and materials are crucial for a smooth finish when painting kitchen cabinets. The right products ensure a professional look and extend the durability of your cabinets.
- High-quality primer: Zinsser Cover Stain Primer
- Disposable brushes: Best for oil-based primers
- High-quality brushes: Essential for applying paint
- Foam rollers: Achieve a smooth finish
- Sandpaper: 120-grit and 220-grit for surface prep
- Wood filler: Fills cracks and holes
- Degreaser: Necessary for cleaning surfaces
- Tack cloth: Removes dust before painting
A high-quality primer is essential for preparing the surface and ensuring paint adhesion. Disposable brushes work best for oil-based primers because they save cleanup time. For paint application, invest in high-quality brushes to achieve a smooth, even coat.
Foam rollers are invaluable for laying down paint evenly and avoiding brush marks. Sandpaper in both 120-grit and 220-grit is necessary for smoothing the surface before and between coats. Wood filler is used to fill any cracks or holes, ensuring a seamless finish. Thorough cleaning with a degreaser removes any grease or grime that could interfere with the paint. Finally, a tack cloth wipes down surfaces to remove any dust before you start painting, ensuring a clean, smooth application.
Step-by-Step Guide to Prepping Kitchen Cabinets for Painting

Proper preparation is key for a smooth finish when painting kitchen cabinets. Skipping or rushing through these steps can result in a subpar outcome, so take your time to get it right.
- Remove cabinet doors, drawers, and hardware.
- Clean all surfaces with a degreaser.
- Sand surfaces using 120-grit sandpaper.
- Fill cracks and holes with wood filler.
- Sand again with 220-grit sandpaper.
- Wipe down surfaces with a tack cloth.
Removing cabinet doors, drawers, and hardware ensures you can paint every nook and cranny without obstruction. Cleaning surfaces with a degreaser removes any grease and grime that could hinder paint adhesion. Sanding with 120-grit sandpaper creates a slightly rough surface for the primer to grip.
Filling cracks and holes with wood filler provides a smooth surface. Sanding again with 220-grit sandpaper smooths out the wood filler and any rough spots, making the surface ready for paint. Finally, wiping down surfaces with a tack cloth removes any remaining dust, ensuring a clean base for painting.
Proper preparation guarantees that your paint will adhere well and look professional, significantly enhancing the durability and appearance of your kitchen cabinets.
Choosing the Best Paint for Kitchen Cabinets
The quality of the paint you choose for your kitchen cabinets is crucial. High-quality paints like Sherwin Williams and Benjamin Moore are recommended for their durability and smooth finish. These brands offer paints that adhere well and resist chipping, ensuring that your cabinets look great for a long time.
When selecting paint, consider the type: latex, enamel, or alkyd. Latex paint is water-based, easy to clean, and has fewer fumes. Enamel offers a hard, glossy finish that’s durable and easy to clean. Alkyd, though oil-based, provides a smooth and highly durable finish, making it ideal for high-traffic areas like kitchen cabinets.
White and neutral colors are popular for kitchen cabinets. They provide a clean, timeless look that complements various kitchen styles. High-gloss finishes are recommended for cabinets because they are durable and easy to clean. Choosing the right color and finish can enhance the overall look of your kitchen, giving it a fresh, updated appearance.
Painting Techniques for a Smooth Finish

Achieving a smooth finish when painting kitchen cabinets requires the right techniques and tools. Here are some key steps to help you avoid brush marks and ensure a professional look.
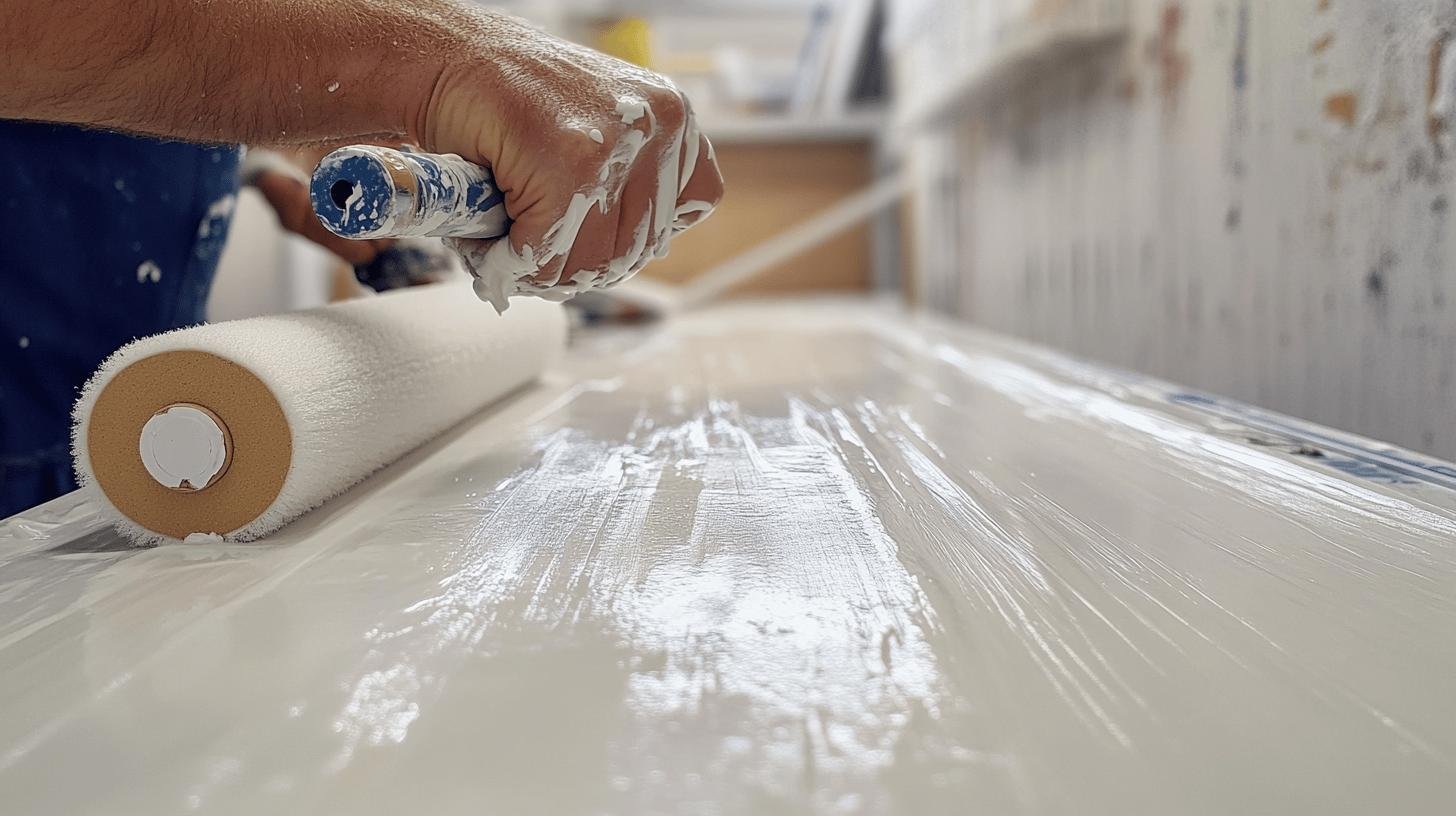
- Use a foam roller for a smooth finish.
- Apply multiple thin coats rather than one thick coat.
- Sand lightly between coats with 220-grit sandpaper.
- Use a spray gun to avoid brush marks.
- Lay doors flat while painting to prevent runs.
- Clean brushes thoroughly to avoid streaks.
- Wipe down surfaces with a tack cloth before each coat.
Using a foam roller is one of the best ways to achieve a smooth finish, as it lays down paint evenly and eliminates brush strokes. Applying multiple thin coats instead of one thick coat ensures the paint dries evenly, reducing the chances of drips. Sanding lightly between coats with 220-grit sandpaper helps to smooth out any imperfections.
Using a spray gun is an excellent option if you prefer a factory-like finish. It applies paint evenly and quickly, eliminating brush marks entirely. Laying cabinet doors flat while painting helps prevent runs and ensures an even application. Cleaning brushes thoroughly between coats prevents streaks and maintains the quality of the paint job. Finally, wiping down surfaces with a tack cloth before each coat removes any dust or debris, ensuring a clean application.
By following these steps, you can achieve a professional, smooth finish on your kitchen cabinets, enhancing both their appearance and durability.
Drying and Curing Times for Cabinet Paint
Allowing each coat of paint to dry fully before applying the next is crucial. Typical drying times between coats are about 4-6 hours. This drying period ensures the paint sets properly, reducing the risk of smudges or uneven coverage.
Waiting between coats is essential for achieving a smooth finish. Applying the next coat too soon can cause the paint to mix, leading to streaks and an unprofessional look. Patience during this stage pays off with a cleaner, more polished appearance.
The full curing process can take up to 7 days. Proper curing ensures the paint hardens completely, providing a durable finish that resists chipping and wear. Skipping this step can result in a less durable surface. By allowing the paint to cure fully, you enhance the longevity and durability of your kitchen cabinets, ensuring they look great for years to come.
Troubleshooting Common Painting Issues

When painting kitchen cabinets, common issues like brush marks, streaks, and uneven coverage can mar the finish. Addressing these problems is crucial for achieving a professional look. Proper techniques and tools can help you avoid these pitfalls and ensure a smooth, durable finish.
Lightly sanding between coats is essential to avoid brush marks. Cleaning brushes thoroughly prevents streaks, and using a tack cloth to remove dust before painting is crucial. Applying thin coats rather than thick ones helps prevent drips and ensures even coverage.
- Lightly sand between coats to avoid brush marks.
- Clean brushes thoroughly to prevent streaks.
- Use a tack cloth to remove dust before painting.
- Apply thin coats to prevent drips and uneven coverage.
- Lay cabinet doors flat while painting to prevent runs.
- Allow each coat to dry fully before applying the next.
By following these steps, you can tackle common painting issues head-on, ensuring a smooth and flawless finish for your kitchen cabinets.
Professional Tips for a Lasting Smooth Finish
Getting a lasting smooth finish on kitchen cabinets requires professional techniques and high-quality tools. Using the right methods ensures your cabinets not only look great but also withstand daily wear and tear. Professionals emphasize the importance of preparation and the quality of materials used.
One key technique is to use a tack cloth before painting to remove dust and debris. This step ensures a clean surface, which is critical for paint adhesion. Applying a protective topcoat can add durability, making your cabinets resistant to chipping and stains. For those seeking a factory-like finish, professional spray painting is highly recommended. High-quality brushes and rollers are also essential for achieving a smooth application.
- Use a tack cloth to remove dust before painting.
- Apply a protective topcoat for added durability.
- Consider professional spray painting for a factory finish.
- Use high-quality brushes and rollers.
- Sand lightly between coats for a smooth finish.
By following these professional tips, you can achieve a durable and smooth finish that will keep your kitchen cabinets looking pristine for years.
Final Words
Getting a smooth finish when painting kitchen cabinets isn’t hard if you follow the right steps. Remember to prep well by cleaning and sanding. Use good tools like foam rollers and high-quality paint. Take your time between coats, letting each one dry fully. Don’t rush – patience leads to better results. With these tips, you can make your cabinets look great. A smooth finish will make your kitchen look fresh and new. Your hard work will pay off with cabinets that look amazing and last for years.
FAQ
How do I get a smooth finish when painting kitchen cabinets?
To get a smooth finish, use a good primer, sand between coats, and apply thin layers of paint. Use foam rollers or a spray gun for the best results.
What kind of paint is best for kitchen cabinets?
High-quality, durable paints work great. Choose a semi-gloss or high-gloss finish for easy cleaning.
Do I need to remove the cabinet doors before painting?
Yes, it’s best to take off the doors and hardware. This makes it easier to paint all the parts evenly.
How long does it take for cabinet paint to dry?
Each coat usually takes 4-6 hours to dry. But wait up to 7 days for the paint to fully harden before using the cabinets a lot.
Can I paint over old paint on my cabinets?
You can, but you need to clean and sand the old paint first. Then use a good primer before adding your new paint color.
