TL;DR:
- Benefits of Black Cabinets: Sleek modern look, highlights design elements, versatile styles (modern, farmhouse, industrial).
- Drawbacks: Can feel smaller/darker, shows dust/fingerprints, needs good lighting.
- Preparation Steps: Remove cabinets, clean surfaces, lightly sand with 120-grit paper, apply high-quality primer.
- Painting Steps: Clean, sand, apply primer, paint with thin coats, let dry, sand lightly between coats, reattach hardware.
- DIY Tips: Use brush then roller for finish, allow drying time, precise hardware placement with measuring tools.
- Cost-Effective: DIY approach saves labor costs for kitchen remodels.
Thinking about painting kitchen cabinets black? It’s a bold move that can transform your kitchen’s look. Black cabinets create a sleek, modern vibe and make other elements pop. But before you grab that paintbrush, let’s explore the pros and cons. We’ll cover everything from prep work to paint choices, helping you decide if black cabinets are right for your kitchen makeover.
Why Paint Kitchen Cabinets Black?
Black cabinets create a sleek, modern look that elevates any kitchen’s style. They contrast well with lighter countertops and backsplashes, making these elements stand out more. This bold color choice can transform an ordinary kitchen into a sophisticated, contemporary space.
However, black cabinets require more maintenance. They show dust, fingerprints, and scratches more easily than lighter colors, needing frequent cleaning to stay pristine. Also, black can make a kitchen feel smaller and darker, so it’s essential to have adequate lighting to balance the room’s ambiance.
Despite this, black is versatile. It complements various design styles, from modern to farmhouse to industrial. This adaptability makes it a popular choice for those looking to refresh their kitchen without a complete overhaul. But always consider the visual impact and how it fits within your overall design scheme.
Pros:
- Sleek, modern look
- Highlights other design elements
- Versatile across various styles
Cons:
- Can make the kitchen feel smaller and darker
- Shows dust and fingerprints easily
- Requires careful lighting considerations
Preparing Your Kitchen Cabinets for Painting

Proper preparation is crucial when painting kitchen cabinets black. Skipping this step can lead to a subpar finish that chips or peels over time. Start by removing the cabinet doors, drawers, and hardware. This allows you to work on a flat surface for even coverage and better control. Clean the surfaces thoroughly with a degreaser to remove any grease and grime.
Next, lightly sand the surfaces using 120-grit sandpaper. This is necessary even if you’re considering painting the cabinets without sanding. Light sanding creates a smooth base for better paint adhesion and durability. After sanding, wipe down the surfaces to remove any dust or residue.
Priming is essential. Apply a high-quality primer to ensure better paint adhesion and durability. Ensure the room is well-ventilated to avoid inhaling fumes and to help the paint dry evenly. Use painter’s tape to protect areas you don’t want to paint and lay down drop cloths to protect your floors and countertops from splatters.
Materials and Tools:
- Degreaser
- 120-grit sandpaper
- High-quality primer
- Painter’s tape
- Drop cloths
Choosing the Best Black Paint for Kitchen Cabinets
When choosing the best black paint for kitchen cabinets, the finish is crucial. Popular options include matte, semi-gloss, and satin finishes. Matte black paint offers a chic, modern look but shows fingerprints and dust more easily. Semi-gloss and satin finishes are more durable and easier to clean, making them ideal for high-traffic areas like kitchens. These finishes provide a slight sheen that helps hide minor imperfections while still delivering a sophisticated appearance.
Step-by-Step Guide to Painting Kitchen Cabinets Black

Follow each step carefully to ensure a professional finish that lasts. Rushing through the process can lead to uneven coverage, chipping, and peeling. Each step builds on the previous one to create a durable, smooth surface that will modernize your kitchen.
Steps:
- Remove cabinet doors, drawers, and hardware
This allows you to paint all surfaces evenly and prevent paint from getting on hinges and knobs. - Clean surfaces with a degreaser
Removing grease and grime is essential for good paint adhesion. Ensure all surfaces are spotless. - Sand surfaces lightly with 120-grit sandpaper
Light sanding helps the primer and paint stick better and smooths out any imperfections.
- Apply primer and let it dry completely
Primer ensures the paint adheres well and lasts longer. Make sure it is fully dry before moving on. - Apply the first coat of black paint using a brush or roller
Start with a thin coat to avoid drips and runs. Use a brush for edges and a roller for flat surfaces. - Allow the first coat to dry, then sand lightly
Light sanding between coats helps achieve a smooth, professional finish. Use fine-grit sandpaper for this step.
- Apply subsequent coats, allowing each to dry thoroughly
Multiple thin coats are better than one thick coat. This ensures a more durable and smooth finish. - Reattach cabinet doors, drawers, and hardware once the final coat has dried
Make sure everything is completely dry before reassembling to avoid smudging the fresh paint.
Reassembly is the final step but just as important as the initial prep work. Carefully reattach the doors, drawers, and hardware to avoid scratching your new paint job. Take your time to ensure everything aligns correctly and functions smoothly, giving your kitchen a polished, professional look.
Before and After: Inspiration for Black Painted Kitchen Cabinets
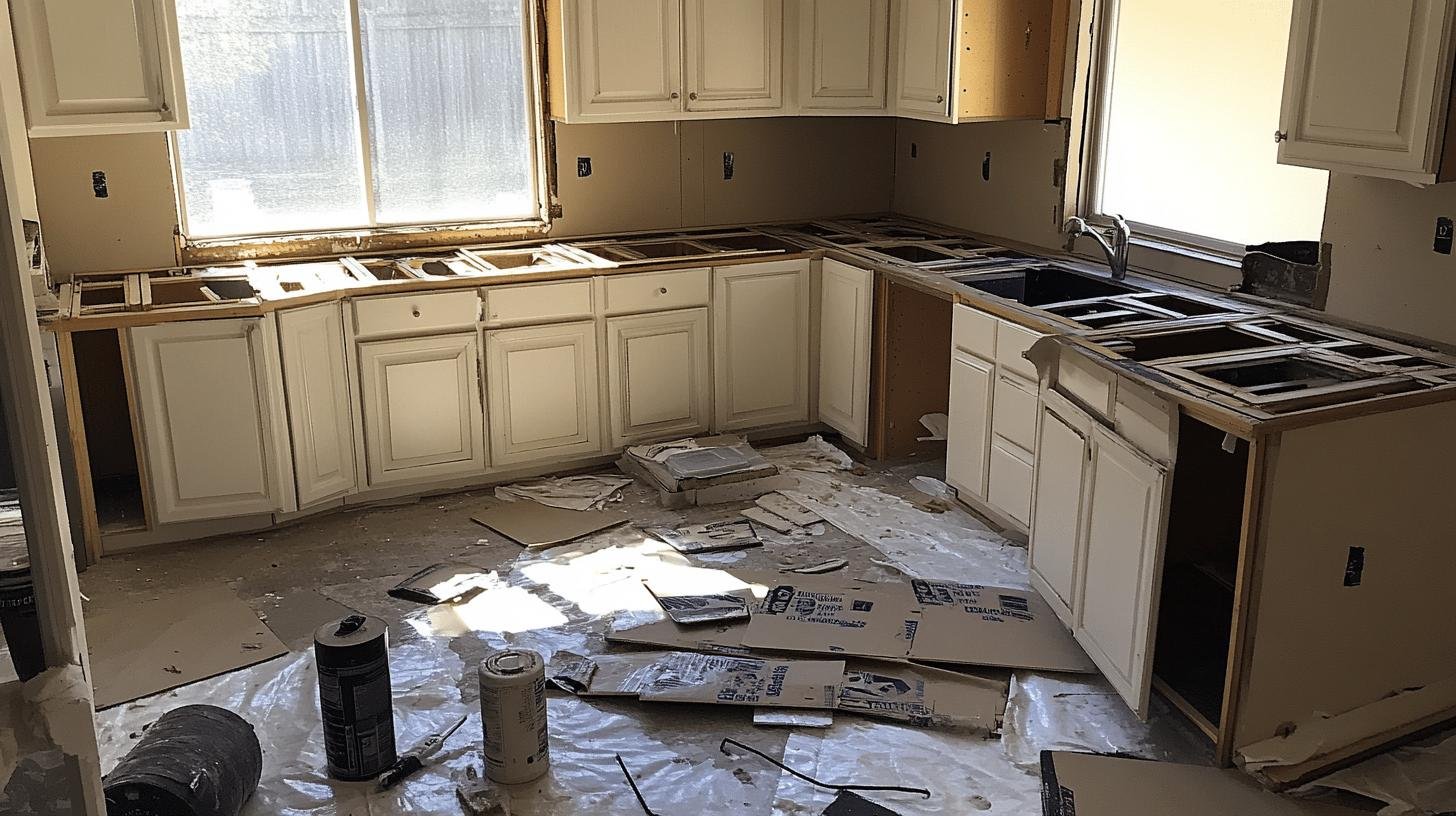
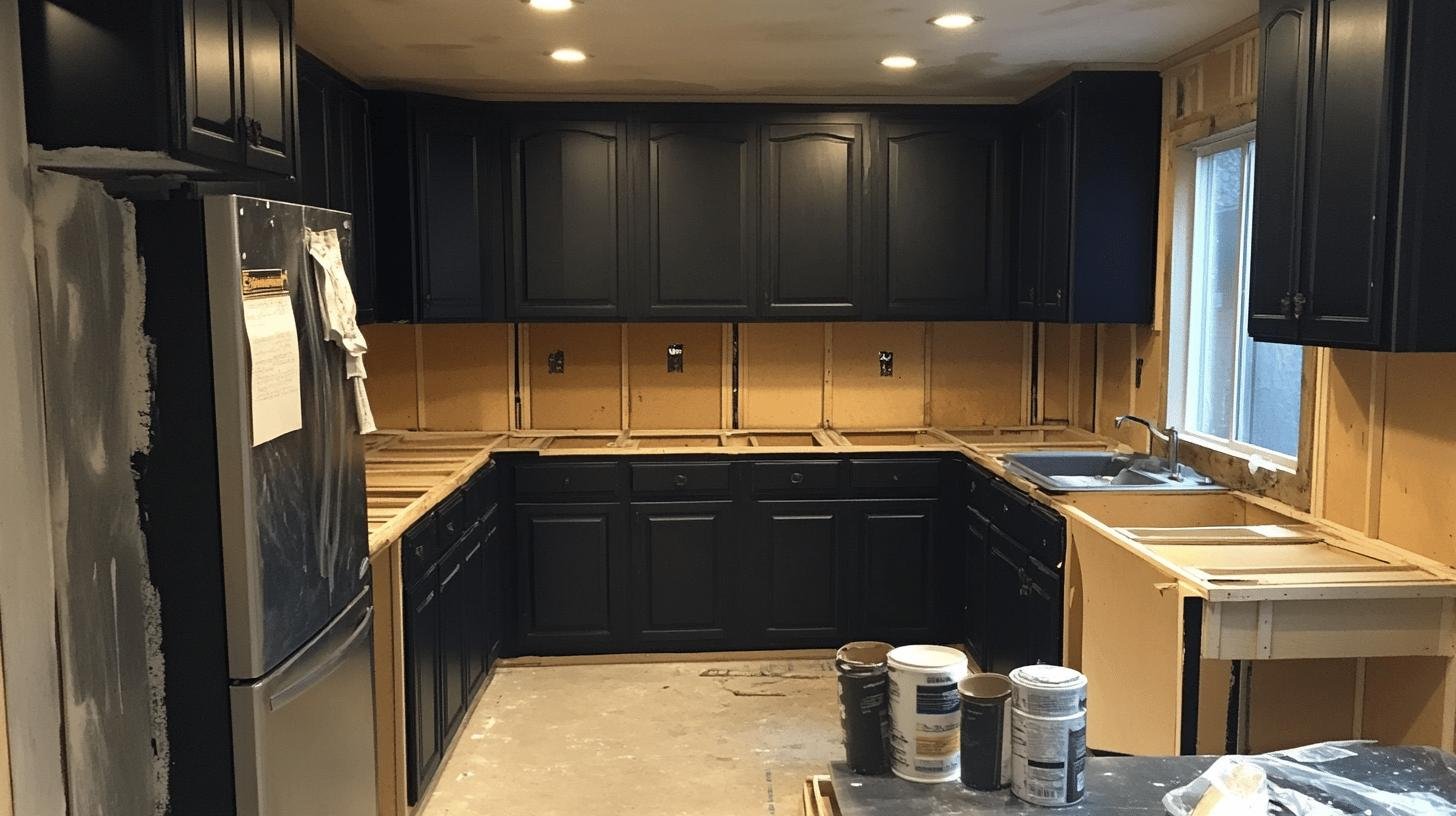
Transforming your kitchen with black painted cabinets can make a dramatic difference. Before and after photos showcase how light-colored cabinets morph into sleek, modern focal points. This visual change can be striking, providing a strong contrast that highlights other elements like countertops and backsplashes.
Styles:
- Modern
- Farmhouse
- Industrial
While black cabinets create a chic look, they have practical implications. They can make spaces seem smaller, especially in kitchens with minimal natural light. Additionally, black surfaces show dust and fingerprints more easily, requiring frequent cleaning.
Tips and Tricks for a Professional Finish

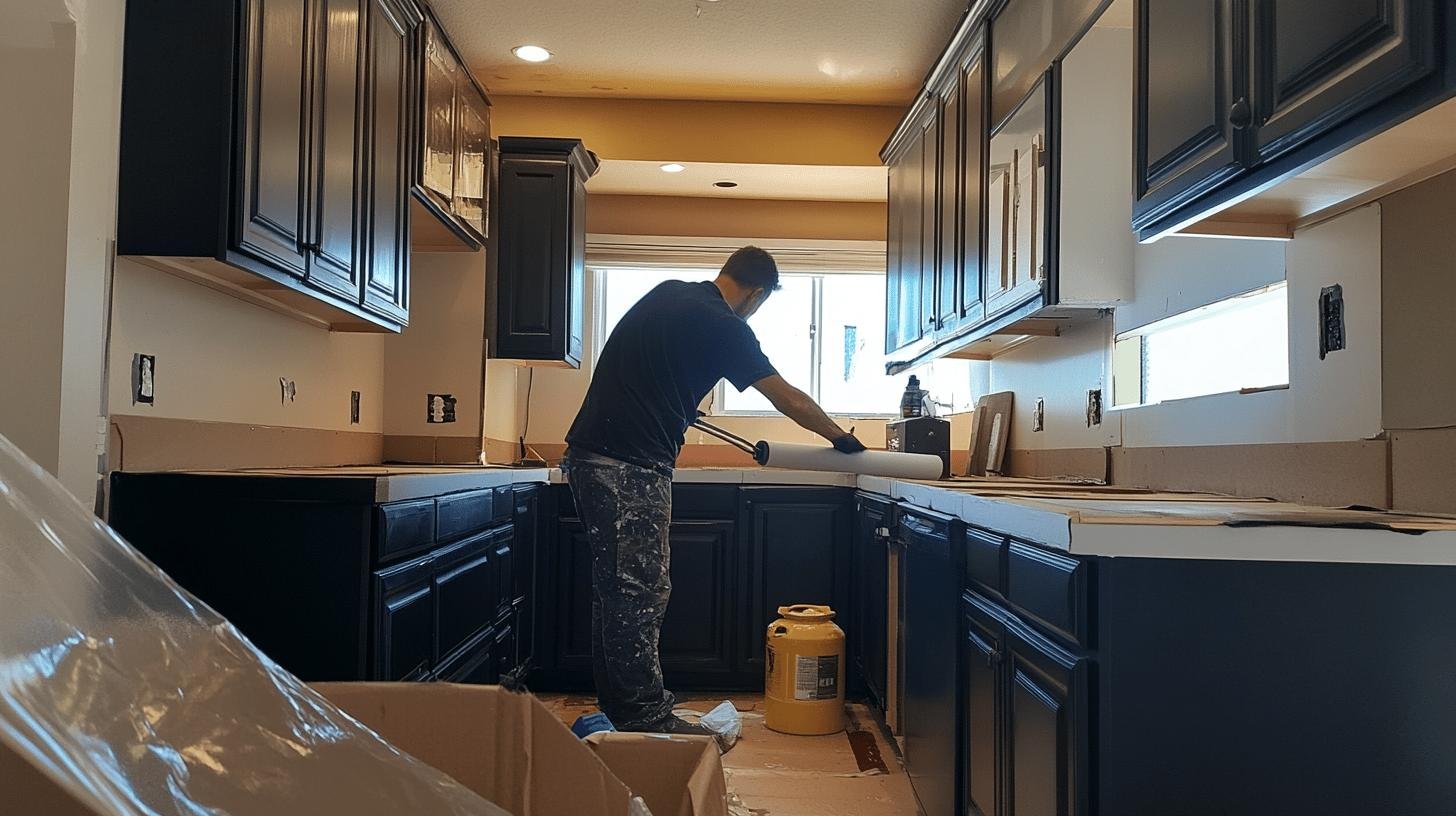
Achieving a professional finish when painting kitchen cabinets black requires attention to detail and the right techniques. Using a paintbrush first ensures all grooves and corners are covered. Follow up with a foam roller to smooth out the paint and eliminate brush strokes. This two-step process helps create a sleek, even finish.
Applying two coats of paint is essential for durability and color depth. Allow the paint to dry for 30 minutes to an hour between coats to avoid smudging and ensure proper adhesion.
Installing hardware correctly can make or break your kitchen’s final look. Use a tape measure and a 3/16-inch drill bit to drill holes for knobs and pulls with precision. A jig helps maintain consistent hardware placement across multiple doors and drawers, ensuring a uniform, professional appearance. Properly installed hardware enhances visual appeal and ensures functionality.
Tips:
- Use a paintbrush followed by a foam roller
- Apply two coats for best results
- Allow adequate drying time between coats
- Use a tape measure and drill bit for hardware holes
- Utilize a jig for consistent hardware placement
Cost-Effective Alternatives to Painting Kitchen Cabinets Black
Painting kitchen cabinets yourself can save significant money compared to hiring professionals. By taking a DIY approach, you eliminate labor costs, which can be substantial. This makes a kitchen remodel more affordable, allowing you to reallocate your budget to other areas like new hardware or upgraded appliances. DIY painting also offers the flexibility to work at your own pace, ensuring each step is done meticulously.
Essential Supplies:
- Paint
- Primer
- Sandpaper
- Painter’s tape
- Drop cloths
The process involves several key steps: cleaning, painting, drying, and reassembling. Start by thoroughly cleaning the cabinets to remove grease and grime, which can affect paint adhesion. Next, sand the surfaces to create a smooth base for the paint. Apply a primer to ensure better paint adhesion and durability. Once the primer is dry, apply your chosen paint in thin, even coats, allowing each coat to dry before applying the next. Finally, reassemble the cabinets carefully to avoid damaging the new finish. Attention to detail at each stage is crucial for achieving a professional-looking result.
Final Words
Painting kitchen cabinets black can breathe new life into your space. It’s a cost-effective way to update your kitchen’s style. Remember to prep well, choose the right paint, and take your time for the best results.
Whether you’re going for a modern look or just want a change, black cabinets can make a big impact. With some effort and the right approach, you can achieve a stunning new kitchen look that you’ll love for years to come.
FAQ
Is painting kitchen cabinets black a good idea?
Painting kitchen cabinets black can be a great idea if you want a modern, sleek look. It can make your kitchen stand out and highlight other features. However, it may make small spaces feel smaller and show dust more easily.
What kind of paint should I use for black cabinets?
Use high-quality paint made for cabinets. Choose a finish that fits your style and is easy to clean.
Do I need to sand my cabinets before painting them black?
While you can paint without sanding, light sanding helps the paint stick better. If you skip sanding, use a good degreaser and high-quality primer for the best results.
How long does it take to paint kitchen cabinets black?
The process usually takes about a week, including prep work, painting, and drying time. Allow enough time for each step to ensure a durable finish.
Will black cabinets make my kitchen look smaller?
Black cabinets can make a small kitchen feel smaller. To avoid this, ensure good lighting and consider pairing black lower cabinets with lighter upper cabinets to create balance.
