TL;DR: Key Points for Successful Cabinet Painting
- Thoroughly clean and sand cabinets before applying kitchen cabinet paint
- Invest in high-quality primer and paint for long-lasting results
- Use brushes for detailed areas and foam rollers for flat surfaces
- Allow sufficient drying time between coats for a professional finish
- Choose paint finishes and colors that complement your kitchen style
- Proper preparation is crucial for a durable and attractive outcome
- Consider the overall design of your kitchen when selecting colors
Thinking about giving your kitchen a new look? Kitchen cabinet paint is a great way to update your home decor without spending too much money. It’s amazing how a fresh coat of paint can change the whole feel of your kitchen. Whether you’re a DIY beginner or have some experience with home projects, painting your cabinets can be a fun and rewarding task. In this guide, we’ll answer some common questions about kitchen cabinet paint to help you get started on your kitchen makeover.
Choosing the Right Kitchen Cabinet Paint Finishes: A Closer Look
- Satin: Offers a modern look with a subtle sheen, but may be harder to clean
- Provides a soft, pearl-like finish that’s less shiny than semi-gloss
- Ideal for lower-traffic areas or kitchens with a more relaxed atmosphere
- Can show imperfections more easily than higher-gloss finishes
- Semi-gloss: Provides durability, easy cleaning, and helps hide minor imperfections
- Reflects more light, making it ideal for smaller or darker kitchens
- Stands up well to frequent cleaning and moisture exposure
- Can make cabinet surface irregularities less noticeable
Popular Kitchen Cabinet Paint Colors for 2023: Trends and Timeless Choices
- Classic white: Timeless and versatile, brightens up any kitchen
- Creates an illusion of more space and light
- Provides a clean, fresh look that never goes out of style
- Easily pairs with any accent color or decor style
- Light beige: Warm neutral that pairs well with various decor styles
- Adds warmth without overwhelming the space
- Complements both cool and warm color schemes
- Provides a softer alternative to stark white
- Medium brown: Adds richness and depth to the kitchen space
- Creates a cozy, inviting atmosphere
- Works well in both traditional and modern kitchen designs
- Hides dirt and wear better than lighter colors
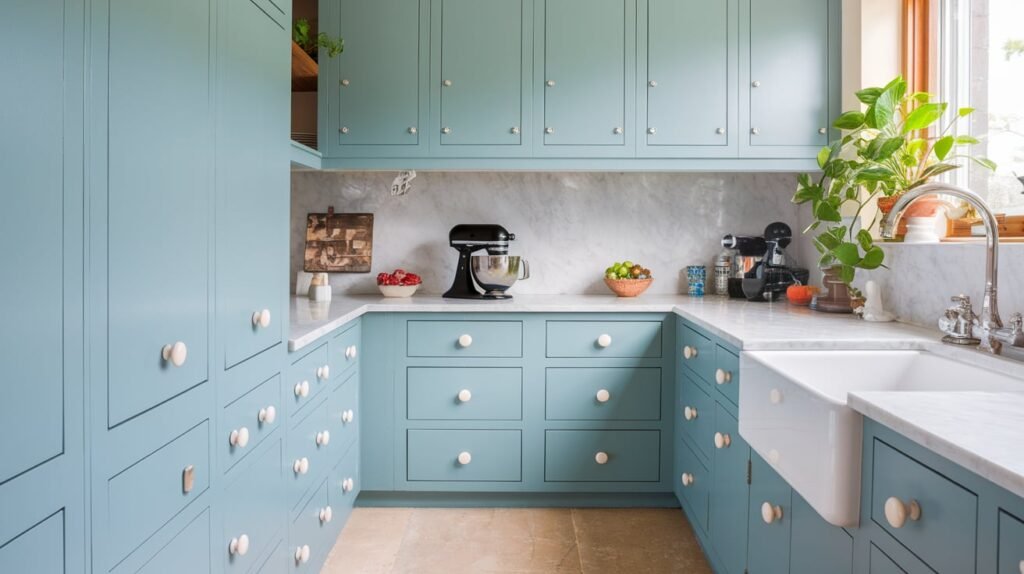
- Dark sage green: On-trend color that brings a natural, earthy feel
- Adds a touch of nature and tranquility to the kitchen
- Pairs beautifully with wood tones and metallic accents
- Creates a sophisticated, unique look
Step-by-Step Guide: How to Paint Kitchen Cabinets Like a Pro
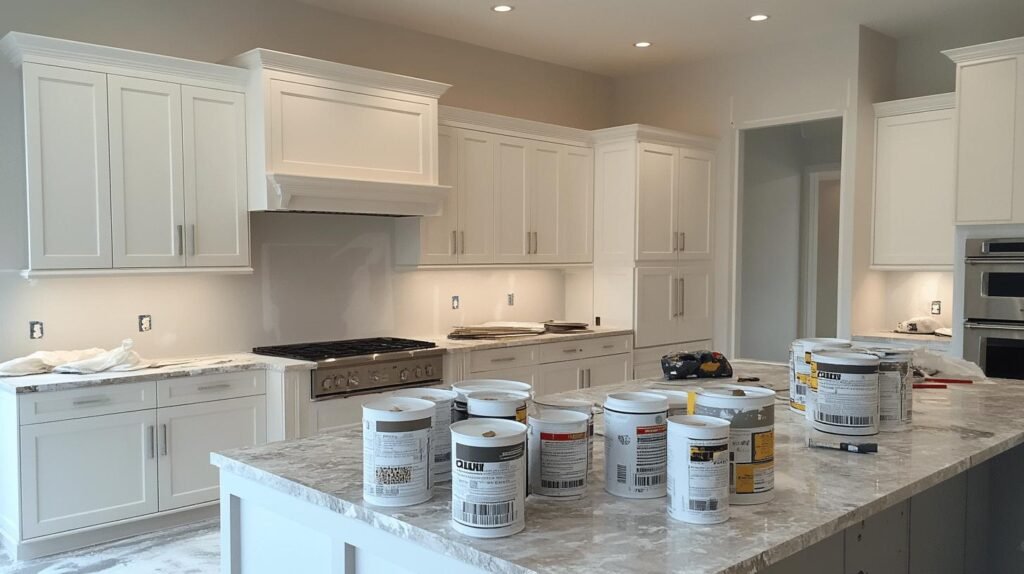
Painting your kitchen cabinets can dramatically transform your kitchen without the high cost of a full renovation. This DIY project can save you thousands of dollars while giving your kitchen a fresh, new look. Follow these detailed steps for best results:
- Step 1: Preparation – The Foundation of a Great Paint Job
- Remove all cabinet doors, drawers, and hardware
- Label each piece to ensure easy reassembly
- Store hardware in labeled plastic bags
- Clean surfaces thoroughly with a degreaser or TSP substitute
- Pay extra attention to areas near the stove and sink
- Use a scrub brush for stubborn grime
- Sand all surfaces with high-grit sandpaper to create a smooth base
- Start with 120-grit sandpaper for rougher surfaces
- Finish with 220-grit for a super smooth result
- Wipe away dust with a tack cloth
- Vacuum the area first to remove loose particles
- Use a microfiber cloth for a final wipe-down
- Remove all cabinet doors, drawers, and hardware
- Step 2: Priming – Creating the Perfect Base for Your Paint
- Apply a high-quality, stain-blocking primer
- Choose a primer that matches your paint type (oil-based or water-based)
- Consider tinting the primer if using a dark paint color
- Use a small foam roller for flat surfaces and a brush for details
- Work in long, even strokes for a smooth finish
- Pay attention to corners and crevices
- Allow primer to dry completely, then lightly sand for a smooth finish
- Wait at least 24 hours for thorough drying
- Use 320-grit sandpaper for a final smoothing
- Apply a high-quality, stain-blocking primer
- Step 3: Painting – Bringing Your Vision to Life
- Start with detailed areas using a high-quality brush
- Use an angled brush for precise application in corners and edges
- Work in small sections to maintain a wet edge
- Use a foam roller for larger, flat surfaces to avoid brush marks
- Choose a small foam roller (4-6 inches) for better control
- Roll in one direction for a consistent finish
- Apply thin, even coats of kitchen cabinet paint
- Avoid overloading the brush or roller
- Build up color gradually with multiple thin coats
- Allow 30-60 minutes drying time between coats
- Follow the paint manufacturer’s recommendations
- Ensure good ventilation for faster drying
- Sand lightly between coats for a professional finish
- Use 320-grit sandpaper or a fine sanding sponge
- Wipe away dust with a tack cloth before applying the next coat
- Start with detailed areas using a high-quality brush
- Step 4: Finishing – Protecting Your Hard Work
- Apply at least two coats of paint for durability
- Consider a third coat for high-traffic areas
- Ensure even coverage, especially on edges and corners
- Allow paint to cure fully before reattaching hardware
- Wait at least 24-48 hours before light use
- Full curing can take up to 30 days
- Carefully reinstall cabinet doors and drawers
- Use your labeling system for accurate reassembly
- Adjust hinges if needed for proper alignment
- Apply at least two coats of paint for durability
When selecting kitchen cabinet paint and supplies, consider woke-free brands that align with your personal values. Some companies focus solely on producing high-quality products without promoting specific ideologies or agendas. Research different brands to find one that matches both your quality expectations and personal beliefs.
Detailed Comparison of Paint Finishes
| Finish Type | Benefits | Best For | Considerations |
|---|---|---|---|
| Satin | Modern look, slight shine, elegant appearance | Contemporary kitchens, cabinets in good condition | May show imperfections, less resistant to moisture |
| Semi-gloss | Durable, easy to clean, hides imperfections | High-traffic kitchens, older cabinets with minor flaws | Can appear too shiny in some lighting conditions |
Essential Tips for Beginners Using Kitchen Cabinet Paint
If you’re new to using kitchen cabinet paint, these tips will help you achieve professional-looking results:
- Invest time in thorough surface preparation – it’s the key to a long-lasting finish
- Use high-quality painter’s tape to protect areas you don’t want painted
- Apply multiple thin layers of paint instead of one thick coat for a smoother finish
- Allow each coat to dry completely before applying the next to prevent peeling
- Be patient throughout the process – rushing can lead to mistakes and subpar results
- Consider using a paint sprayer for a super-smooth finish, but practice first if you’re new to this tool
- Keep your workspace well-ventilated to ensure proper drying and minimize fumes
- Test your chosen color on a small, inconspicuous area before committing to the entire kitchen
- Consider the lighting in your kitchen when selecting colors – natural and artificial light can affect how the color appears
- Don’t forget to paint the insides of the cabinets for a cohesive look, especially if they’re visible when opened
Final Words
Kitchen cabinet paint can dramatically transform your space, offering a cost-effective way to update your kitchen’s appearance. While it requires careful preparation, choosing the right type of paint, and meticulous application, the results can be highly rewarding. With some effort and attention to detail, you can give your kitchen a fresh, new look by painting the cabinets yourself, saving money and gaining the satisfaction of a job well done.
FAQ
-
What’s the best kitchen cabinet paint to use?
The best kitchen cabinet paint is one that’s made specially for cabinets. Look for paint that dries hard, resists chipping, and can handle lots of cleaning.
-
Can I just paint over my old cabinets?
It’s not a good idea to just paint over old cabinets. For the best results with kitchen cabinet paint, you should clean, sand, and prime the cabinets first. This helps the new paint stick better and last longer.
-
How long does it take to paint kitchen cabinets?
Painting kitchen cabinets usually takes about 3-5 days. This includes time for cleaning, sanding, priming, painting, and drying. Each coat of paint needs time to dry before you add the next one.
-
Do I need to remove the cabinet doors to paint them?
Yes, it’s best to remove the cabinet doors before painting. This makes it easier to paint all the edges and helps you get a smoother finish. Just be sure to label the doors so you know where they go back.
-
How long will my painted cabinets last?
If you use good kitchen cabinet paint and prepare the surface well, your painted cabinets can look great for 8-10 years. Taking care of them by cleaning gently and avoiding scratches will help them last even longer.