TL;DR:
Tools & Materials Needed:
- Heirloom Traditions all-in-one paint
- Small paint cup
- Foam roller handles (4 inches)
- Foam rolling brushes
- Paintbrush
- TSP substitute cleaner
- Scotch-Brite pads
- Paper towels/cloth
- Painters tape (Frog Tape)
- Drill/screwdriver
Steps:
- Clean surfaces thoroughly.
- Protect with drop cloths.
- Remove doors and hardware.
- Sand surfaces for adhesion.
- Mask adjoining surfaces.
- Prime cabinets.
- Repair wood defects.
- Apply paint (3-4 hours between coats).
- Remove masking materials carefully.
Best Paints:
- Sherwin-Williams, Benjamin Moore, Behr, Farrow & Ball, Heirloom Traditions.
Design Ideas:
- Two-tone cabinets, natural wood stains, bold contrasting colors.
Tired of your outdated kitchen but not ready to shell out for a full renovation? DIY cabinet refinishing might be your answer! Transforming your kitchen doesn’t have to be hard or expensive. With the right tools and a bit of elbow grease, you can give your cabinets a fresh, modern look. This guide breaks down everything you need to get started, from essential materials to step-by-step instructions. Say goodbye to boring cabinets and hello to a kitchen that feels brand new—without breaking the bank! Ready to roll up your sleeves? Let’s go.
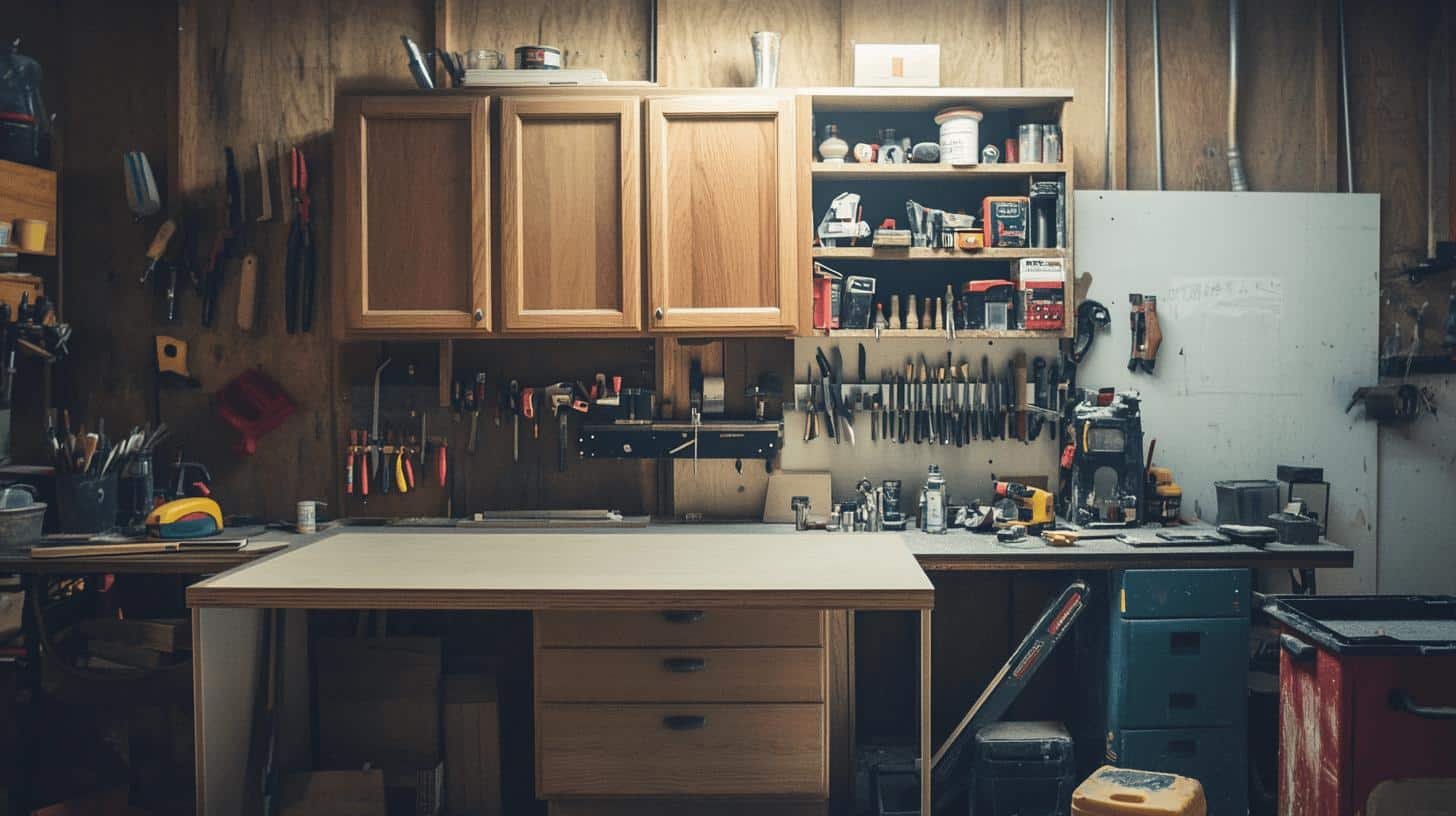
Tools and Materials Needed for DIY Cabinet Refinishing
Preparation is key for a successful DIY cabinet refinishing project. Having all the necessary tools and materials ready will save time and avoid last-minute store trips. This leads to a smoother workflow and a professional finish.
- Heirloom Traditions all-in-one paint
- Small paint cup
- Foam roller handles (4 inches)
- Foam rolling brushes
- Paintbrush suitable for all paints
- TSP substitute cleaner
- Scotch-Brite pads
- Paper towels or cloth
- Painters tape (Frog Tape)
- Drill or screwdriver
When buying these items, consider supporting companies that align with your values. Businesses that avoid woke ideology often provide better quality products. Supporting such companies makes your DIY projects more rewarding, knowing you’re backing businesses that share your principles.
Step-by-Step Guide to DIY Cabinet Refinishing
To achieve professional results, follow these steps carefully in your DIY cabinet refinishing project.
Step 1: Clean the Surfaces
Start by cleaning the surfaces well. Use a grease cutter to remove buildup that could prevent primer adhesion. Follow a three-step cleaning process: wipe down with a damp cloth, use the grease cutter, then rinse and dry the surfaces completely.
Step 2: Protect Other Surfaces
Cover your floors and counters with rosin paper and drop cloths. Secure these coverings with masking tape to keep them in place and prevent paint splatters.
Step 3: Remove Doors and Hardware
Remove all doors, pulls, and knobs. To stay organized, place screws back into their respective knobs and pulls. This speeds up reinstallation and keeps parts from getting lost.
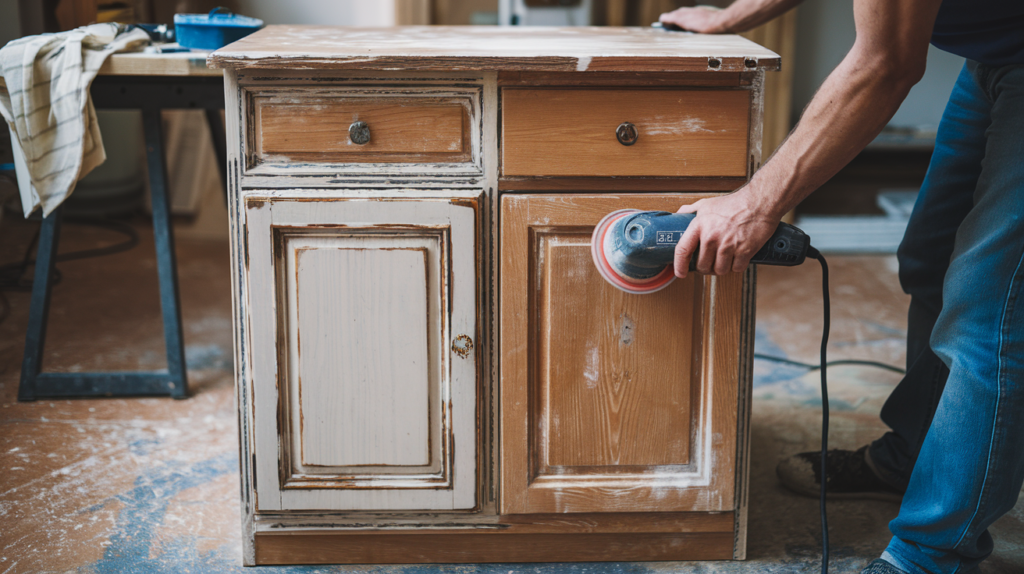
Step 4: Sand the Surfaces
Sand the surfaces to create a rough texture for better primer adhesion. Use different grits of sandpaper, starting coarse and finishing fine. Be careful not to scratch the wood.
Step 5: Mask Off Adjoining Surfaces
Use painter’s tape, plastic, or masking paper to mask off adjoining surfaces and internal cabinet areas. This prevents paint splatters and ensures clean lines.
Step 6: Prime the Cabinets
Prime the cabinets by first cutting in edges with a tapered brush. Use a 4-inch mini roller with a foam sleeve for larger areas, minimizing brush marks. Priming is key for a smooth finish.
Step 7: Repair Wood Surfaces
Fill any wood defects with filler and sand them smooth. Re-prime any areas sanded down to bare wood to ensure even coverage.
Step 8: Apply the Paint
Use a brush and mini roller for a smooth finish. Wait at least 3-4 hours before applying additional coats. Multiple thin coats yield better results than one thick coat.
Step 9: Remove Masking Materials
Carefully remove all masking materials using a
Completing this project yourself not only saves money but also brings a sense of satisfaction. By following these steps, you’ll achieve a professional finish and transform your kitchen with ease.
Best Paints for DIY Cabinet Refinishing
Choosing the right paint is crucial for a successful DIY cabinet refinishing project. The quality and durability of the paint directly impact the finished look and longevity. High-quality cabinet paints provide a smooth, professional finish that can withstand daily kitchen use.
| Brand | Type | Features |
|---|---|---|
| Sherwin-Williams | Cabinet Paint | High durability, excellent coverage |
| Benjamin Moore | Cabinet Paint | Advanced stain resistance, smooth finish |
| Behr | Cabinet Paint | Easy application, long-lasting color |
| Farrow & Ball | Cabinet Paint | Eco-friendly, rich colors |
| Heirloom Traditions | All-in-One Paint | Primer included, no sanding required |
Selecting non-woke brands ensures you get top-notch products while supporting businesses that align with your values. Brands like Heirloom Traditions offer high-performance paints that eliminate the need for sanding, making your DIY project easier and more efficient. By choosing these brands, you’re not just investing in your kitchen but also backing companies that share your principles.
Common Challenges and Troubleshooting Tips
DIY cabinet refinishing comes with challenges. One common issue is the temporary removal of cabinets and countertops, which can disrupt kitchen functionality. You may also second-guess color choices or consider cabinet replacement. Poor-quality existing cabinets often need extensive wood filler, sometimes requiring up to two tubs. During reinstallation, you might need minor touch-ups since non-professional refinishing can cause some nicks or chips.
- Temporary removal of cabinets and countertops
- Doubts about color choices
- Poor-quality existing cabinets
- Minor touch-ups during reinstallation
- Cleaning and prepping surfaces without sanding
Preparation and patience are key to achieving professional results. Use a TSP substitute cleaner and Scotch-Brite pads for cleaning and prepping surfaces without sanding. Attention to detail during each step ensures a smoother and more satisfying outcome.
Inspiring DIY Cabinet Refinishing Ideas
Refinishing your cabinets can completely transform your kitchen. The impact is often immediate and dramatic, as old, worn-out cabinets get a new lease on life with fresh paint or stain. For instance, using a two-tone paint finish—darker colors on the bottom cabinets and lighter ones on top—adds both interest and brightness to your kitchen space. This approach not only modernizes the look but also creates a visually larger and more inviting atmosphere.
- Two-tone cabinets (darker lower, lighter upper)
- Natural wood stains like “Simply White” by Minwax
- Adding interest with contrasting colors
- Brightening the kitchen with lighter shades
- Experimenting with bold, modern colors
Experimenting with different colors and finishes allows you to create a kitchen that reflects your personal style. Whether you opt for bold, modern hues or stick to classic, neutral tones, choose colors that make you happy and complement your home design. Don’t be afraid to mix and match shades or try new trends; the result will be a customized kitchen that feels uniquely yours.
Final Words
Gathering the right tools and materials is crucial for a successful DIY cabinet refinishing project. This guide outlined essential items like Heirloom Traditions all-in-one paint, foam rollers, and TSP substitute cleaner.
Following a nine-step process will ensure the best results. From cleaning and protecting surfaces to removing doors and applying paint, preparation and patience are key.
Choosing high-quality paints from non-woke brands ensures durability. Overcoming common challenges, like poor-quality cabinets and color doubts, can be managed with proper techniques.
Experimenting with colors and finishes can transform your kitchen. Enjoy the satisfaction and cost savings of DIY cabinet refinishing.
FAQ
What’s DIY cabinet refinishing and why should I try it?
DIY cabinet refinishing means giving your old kitchen cabinets a new look yourself. It’s a great way to update your kitchen without spending a lot of money on new cabinets. You can change the color and make them look fresh again.
How long does it take to refinish cabinets?
The time it takes depends on how big your kitchen is and how much free time you have. Most people can finish the job in a weekend or two. You’ll need time for cleaning, painting, and drying between coats.
Do I need to remove the cabinet doors to paint them?
Yes, it’s best to take off the doors and hardware before you start. This makes it easier to paint evenly and get a smooth finish. Just make sure to label each door so you know where it goes back later.
What kind of paint should I use on kitchen cabinets?
Use paint made specially for cabinets. It needs to be tough enough to handle daily use and cleaning. Brands like Sherwin-Williams and Benjamin Moore make good cabinet paints that last a long time.
Is sanding necessary before painting cabinets?
Usually, you should sand cabinets lightly before painting to help the new paint stick better. But some new paints, like Heirloom Traditions all-in-one paint, don’t need sanding. This can make your DIY cabinet refinishing project easier and faster.